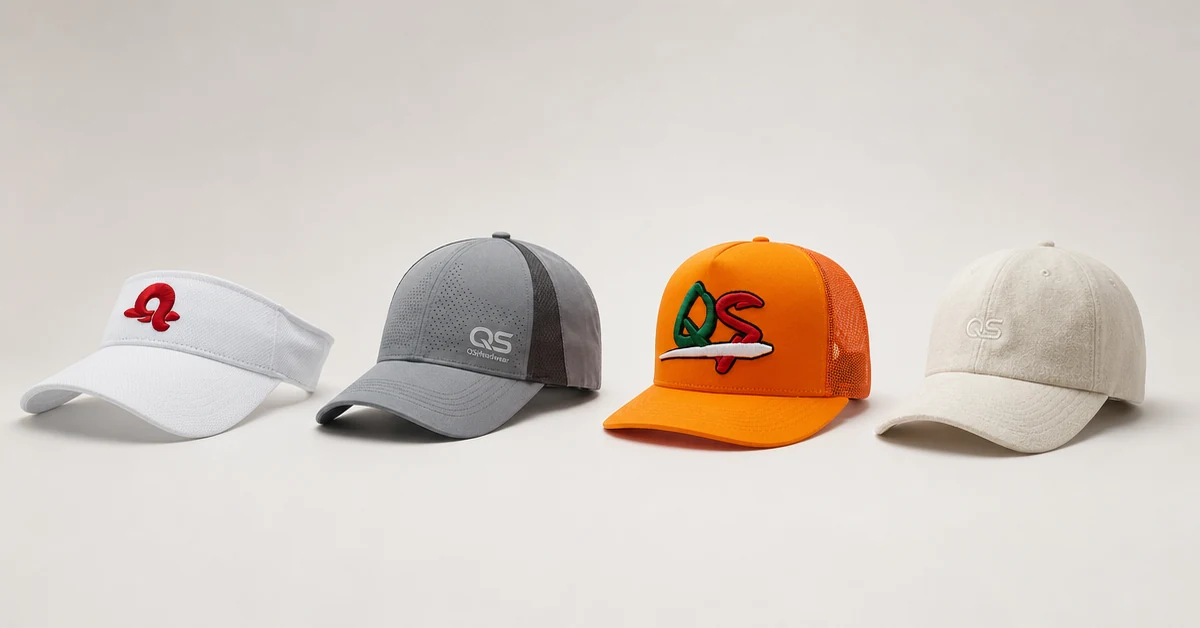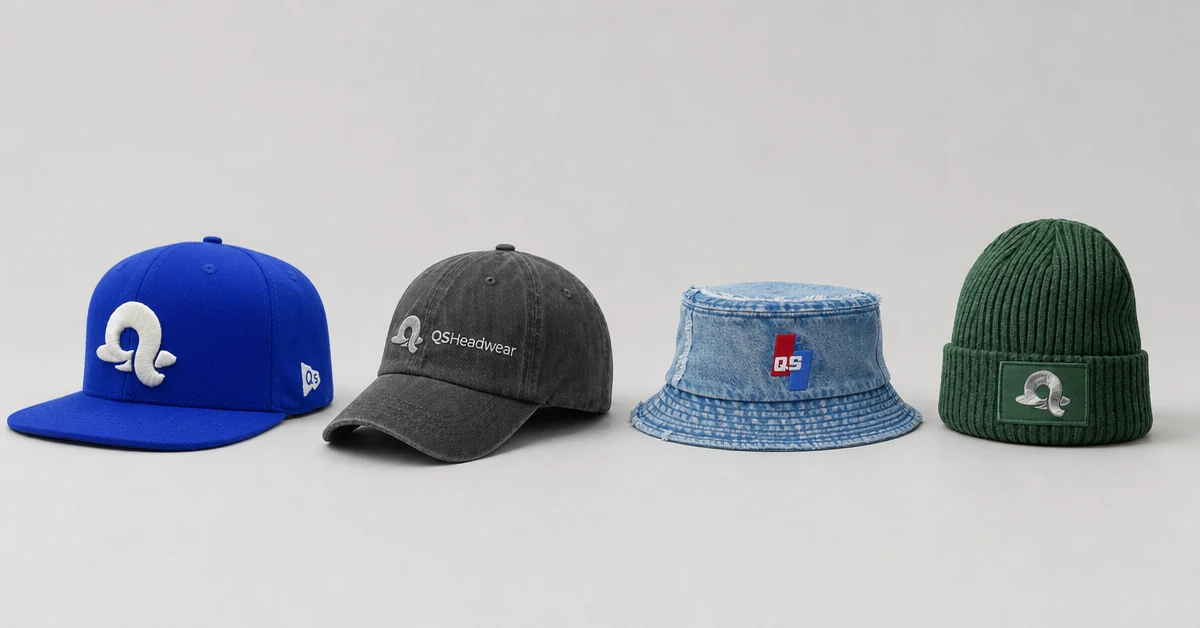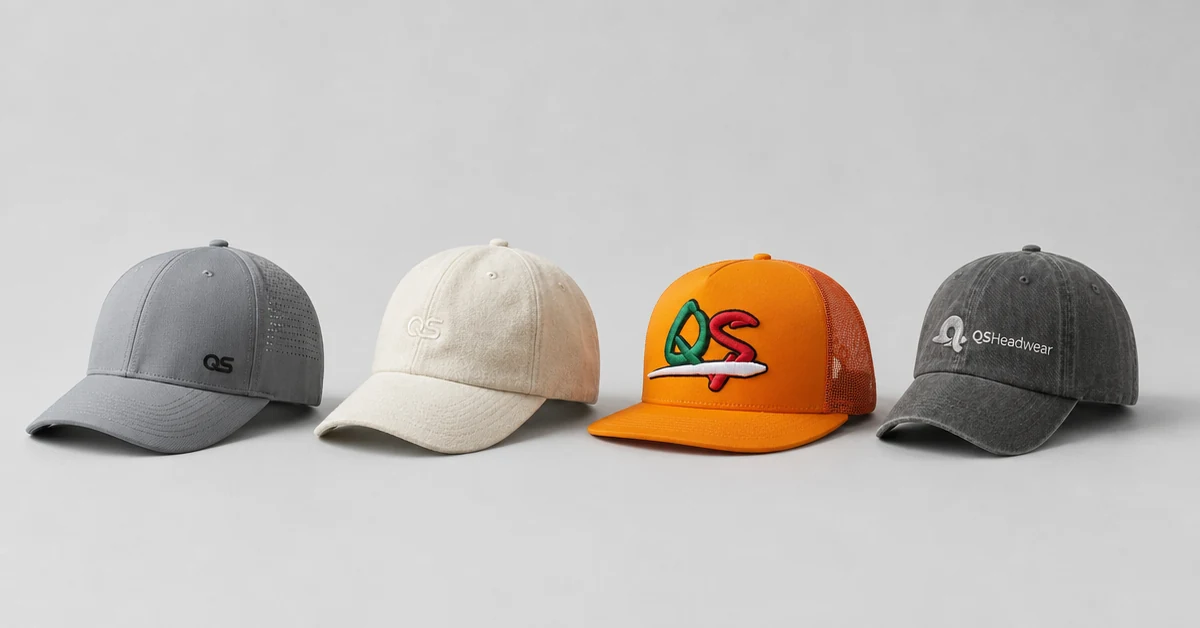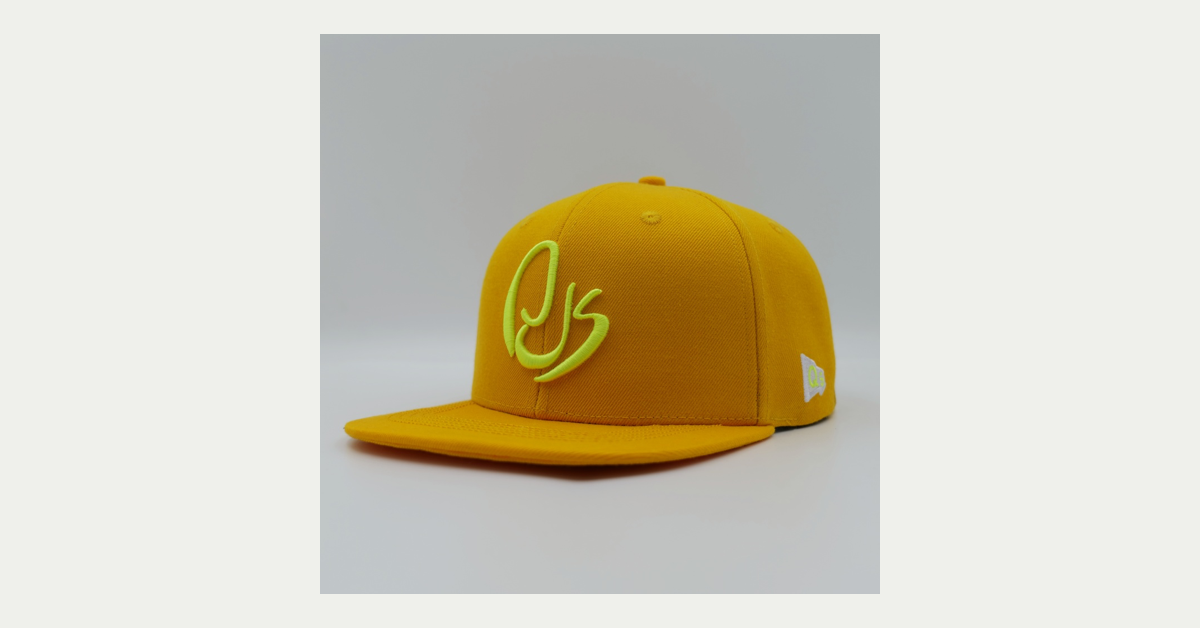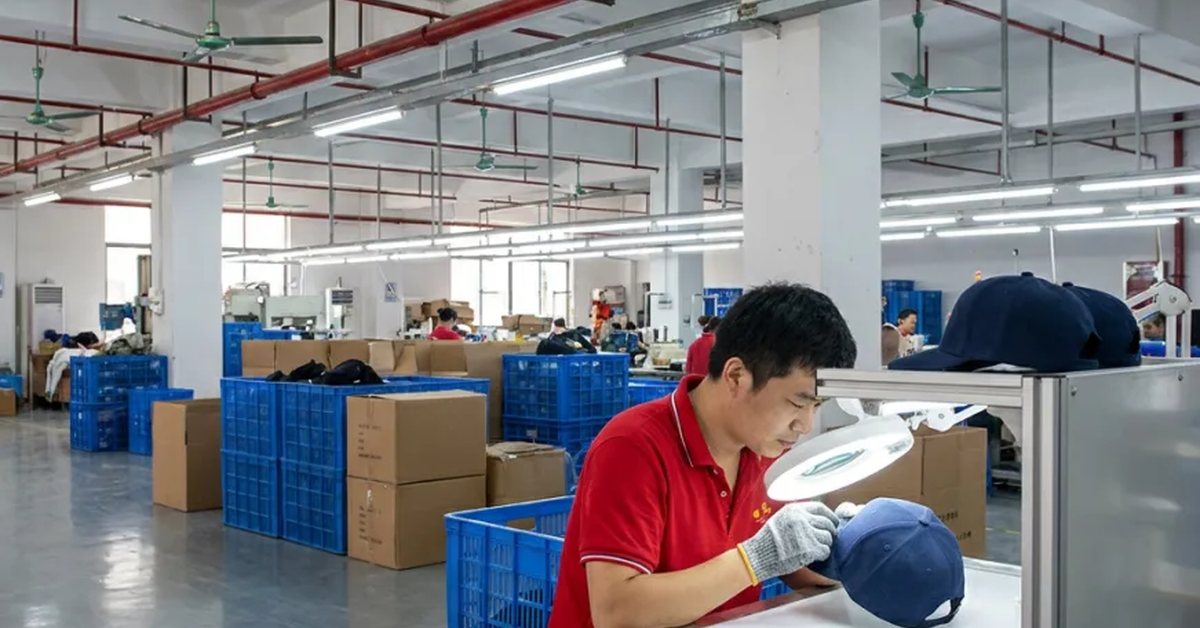


A custom patch hats manufacturer must develop two connected products: the patch and the cap. The buyer needs to control artwork simplification, patch material, border, backing, attachment, placement, cap structure, fit, color and packing. A well-made patch can still fail if it is too heavy for the panel, sewn off-center or applied over a seam. The approval process should therefore evaluate the complete hat rather than a loose patch alone.
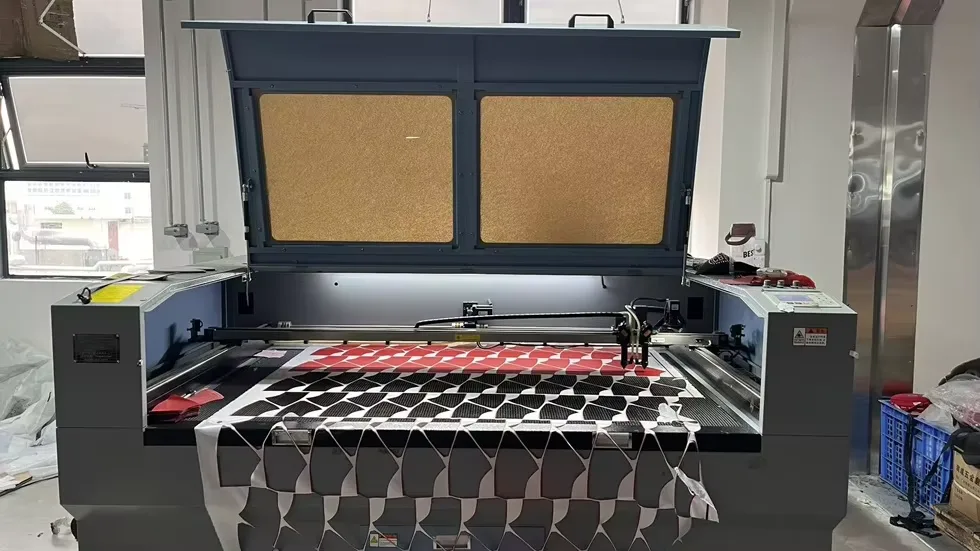
This guide helps fashion brands, outdoor labels, promotional buyers and merchandise teams choose between woven, embroidered, leather, PVC and felt patch programs.
Custom Patch Hats: The Direct Buyer Answer
Select the patch technique according to artwork detail, texture, use, cap fabric and care requirements. Approve a patch proof, loose sample and finished cap sample. Define the attachment method, placement dimensions and edge tolerance. Compare factories on repeatability and evidence, not on a catalogue image.
Give suppliers the original vector file and permission to recommend production adjustments. Any simplification should be marked and approved rather than hidden.
Patch Selection Table for Buyers
| Patch type | Typical strength | Buyer checks |
|---|---|---|
| Woven | Fine detail and small lettering | Edge, color and readability |
| Embroidered | Textured traditional appearance | Stitch density and thread trimming |
| Leather or leather-look | Premium tactile branding | Material, deboss depth and edge finish |
| PVC | Bold color and dimensional detail | Mold, thickness, flexibility and color |
| Felt | Soft vintage or collegiate effect | Cut edge, thickness and attachment |
Match Artwork Detail to the Patch Process
Fine lines, tiny gaps and small text have different production limits in woven, stitched, molded and debossed materials. Specify finished dimensions before judging legibility. Ask the supplier to show the smallest reliable line and text size for the selected process.
Approve a production proof with color references, border, background, surface effect and any simplified details. Keep the original and approved versions together.
Choose Patch Shape, Border and Thickness
Merrowed borders create a raised stitched edge but may not suit very complex shapes. Laser-cut or heat-cut edges can follow a detailed contour. PVC and leather patches need thickness, corner radius and surface finish decisions. Heavy or stiff patches can alter a soft cap panel.
A custom patch hats manufacturer should explain how the patch weight and edge will behave on the chosen crown and during wear.
Define the Backing and Attachment Method
Sewing provides visible and durable attachment when stitch lines are controlled. Heat application may be useful for some materials, but temperature, pressure and fabric compatibility must be tested. Hook-and-loop backing is appropriate for removable patches but changes thickness and edge behavior.
Record the attachment method, thread color, stitch distance from the edge and the reverse-side finish. Inspect the cap interior for roughness or backing exposure.
Place the Patch on a Curved Product
Define the patch center relative to the brim, crown seam and panel edges. A flat digital mockup does not show how a wide patch wraps around a curved crown. Review the front, side and worn views. Keep enough clearance from seams and the brim for clean attachment.
For side or back patches, check ventilation eyelets, closure movement and label locations. Approve placement dimensions in millimeters.
Select a Compatible Cap and Fabric
Structured twill, unstructured cotton, foam fronts, denim, corduroy and mesh-backed caps hold patches differently. A thick PVC patch may fit a structured front but feel excessive on lightweight fabric. A woven patch may suit a softer fashion cap.
Confirm crown shape, interlining, fabric weight, wash treatment and care instructions before finalizing the patch.
Approve a Complete Patch-Hat Sample
Review patch dimensions, color, readability, border, thickness, placement, attachment and interior finishing. Then evaluate crown shape, brim, closure, fit and packing. Bend and wear the sample to identify lifted edges or panel distortion.
QSHeadwear states typical physical samples can be completed in 3-5 business days after requirements are aligned. Tooling or special materials may add time, so request an actual development schedule.
Use Factory Evidence Relevant to Patch Programs
QSHeadwear's OEM/ODM page lists woven, PVC, leather, felt and embroidered patch options along with embroidery, printing and other decoration. Its factory profile states 30+ embroidery machines, 15+ years of experience, 100+ staff and a 4,000+ sqm production area.
Ask to see evidence for the selected patch type, not only general embroidery capacity. Confirm whether the patch is made in-house or by an approved partner and how incoming patches are inspected.
Inspect Patch Quality in Bulk
- Measure patch width, height and placement.
- Compare color and surface finish with the approved sample.
- Check border consistency, loose threads and clean edges.
- Test attachment and inspect the reverse side.
- Review cap shape, fit and closure function.
- Confirm labels, packing and carton marks.
State defect limits and the response to detached, crooked, damaged or incorrect patches. QSHeadwear describes in-line checks and final AQL 2.5 inspection; request the order-specific defect criteria.
Plan MOQ, Tooling and Reorders
Patch MOQ can differ from cap MOQ. PVC molds, leather dies, embroidery digitizing and printed components may have setup charges or minimums. Ask who owns tooling, how long it will be retained and whether future colors use the same setup.
Record unused patch inventory and approved artwork versions. A reorder should use the same patch reference unless a written change is approved.
Compare the Complete Cost
Separate cap, patch development, tooling, digitizing, attachment, labels, packaging, inspection and freight. Confirm what is included in the unit price and what will be credited on a repeat order. Compare the same patch material, size and attachment.
A cheap patch can increase labor or failure risk. Evaluate landed cost and durability, not only the loose component price.
Test Durability for the Intended Use
Define whether the product will face frequent washing, outdoor exposure, abrasion or heavy promotional use. Agree on relevant color, attachment, flexibility or care checks. Do not claim a performance result unless the specific material and finished sample have been evaluated.
Keep test conditions and acceptance criteria with the specification. The buyer's care label should match the approved construction.
Score the Patch-Hat Supplier
Score artwork interpretation, material choice, proof accuracy, sample workmanship, placement, attachment, QC evidence, tooling terms, cost transparency and delivery. Reject suppliers that change patch details without approval.
A custom patch hats manufacturer should make the limitations and tradeoffs visible before bulk release.
Keep Patch Tooling, Files and Inventory Traceable
Create one record for the approved artwork, production proof, color references, mold or die number, loose patch sample and finished hat sample. State who owns the tooling, where it is stored, how long it will be retained and whether another factory may use it. For patches supplied by a partner, ask how lots are identified and inspected when they arrive at the hat factory.
After production, reconcile the number of patches received, used, rejected and remaining. Tell the custom patch hats manufacturer whether unused branded patches should be stored, returned or destroyed. This prevents version mixing and gives purchasing a clear starting point for the next order. A repeat order should reference the approved patch record rather than a screenshot from the previous campaign.
Send a Patch-Hat RFQ
Send vector artwork, finished patch dimensions, preferred material, cap style, fabric, placement, quantity by color, labels, packing, destination and target date. Ask for process recommendations and separate setup charges.
Request a response that separates confirmed requirements from recommendations. The supplier should state the achievable detail, proposed patch size, border, attachment, tooling, MOQ, sample stages and lead-time assumptions. Buyers can then compare the same production concept across candidates instead of comparing quotes built on different hidden interpretations.
Review the QSHeadwear product center, decoration options and factory profile. Request a proof, sample and quotation through the contact page from a custom patch hats manufacturer.
FAQ About Custom Patch Hat Manufacturing
1. Which patch type is best for fine detail?
Woven patches often reproduce fine detail well, but finished size, line width, color and readability still need approval.
2. When should buyers use embroidered patches?
They suit a textured traditional look when the artwork can be translated into practical stitch density and borders.
3. Are PVC patches suitable for outdoor hats?
PVC can offer bold dimensional detail, but the selected material, flexibility, attachment and intended exposure should be evaluated.
4. Can leather patches be customized?
Yes. Buyers can define material, shape, color, debossing or printing, edge finish and attachment.
5. Should I approve a loose patch or a finished hat?
Approve both, because curvature, attachment and cap structure can change the final appearance.
6. How is patch placement measured?
Use the patch center or edges relative to the brim, seams and panel boundaries, with dimensions recorded in millimeters.
7. What defects matter on patch hats?
Common concerns include incorrect color, poor readability, damaged edges, loose threads, weak attachment, crooked placement and crown distortion.
8. Does a custom patch require tooling?
Some PVC, leather, molded or cut processes may require tooling or setup. Confirm ownership, retention and repeat-order terms.
9. How long does patch-hat sampling take?
QSHeadwear states typical physical samples take 3-5 business days after requirements are aligned, while special tooling can add time.
10. What files are needed for a patch quote?
Send vector artwork, dimensions, material preference, cap style, placement, quantities, labels, packaging, destination and target date.