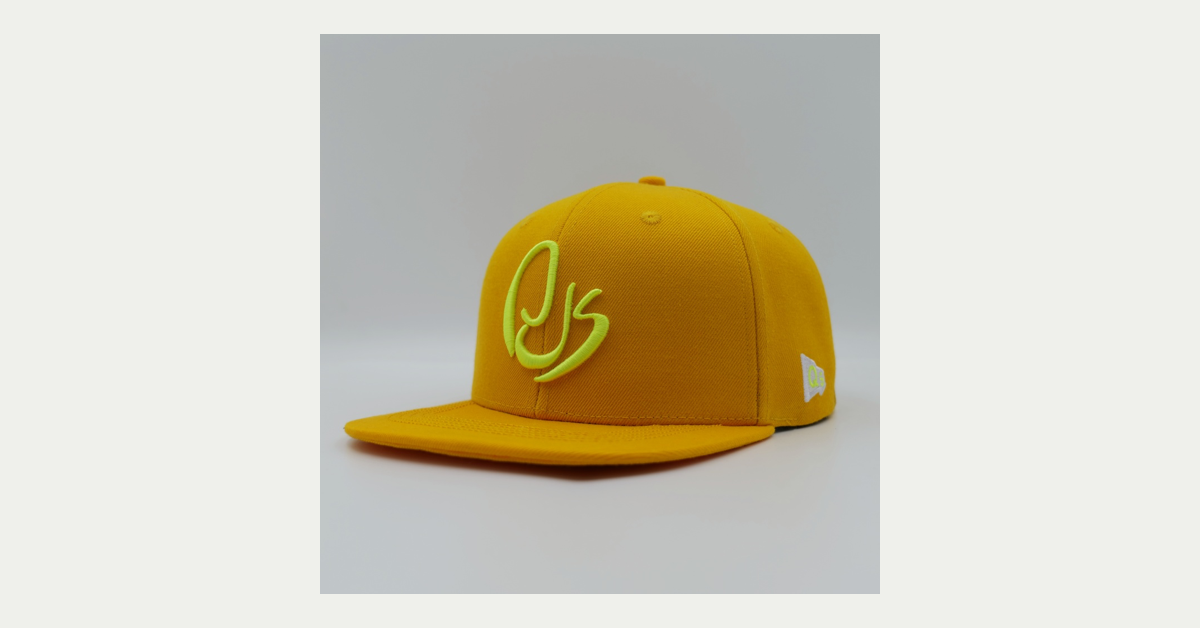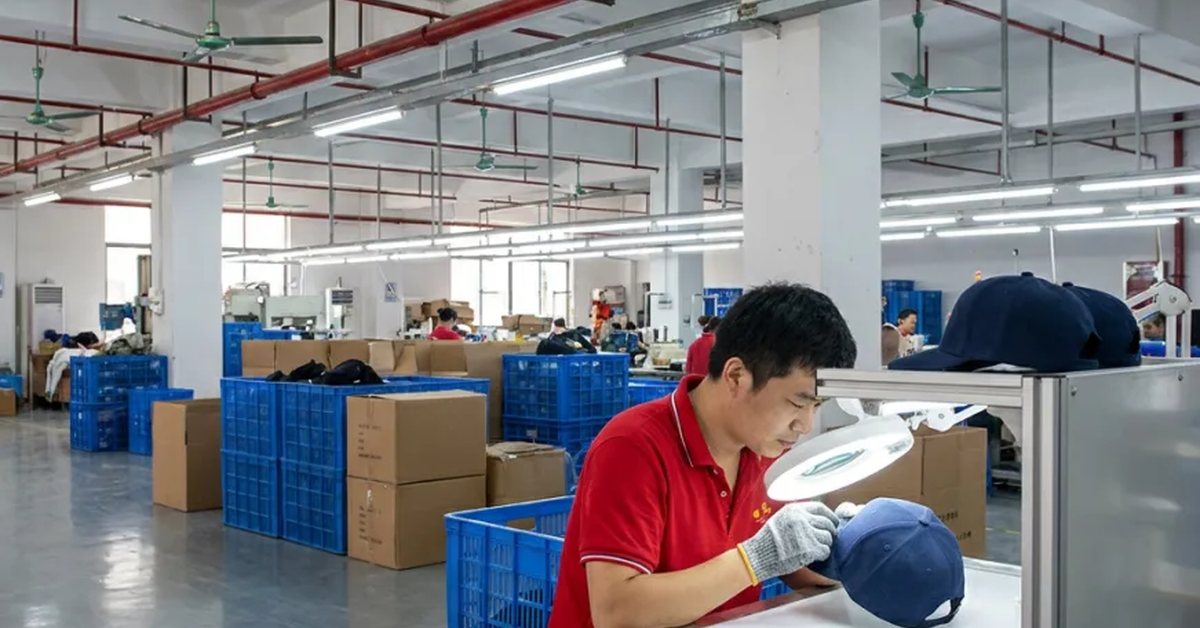


Custom woven patch caps use woven threads to reproduce brand artwork with finer detail and a flatter surface than many embroidered patches. The patch still has to survive cutting, edge finishing, attachment and the curve of a cap crown. A clear digital proof is only the first step.
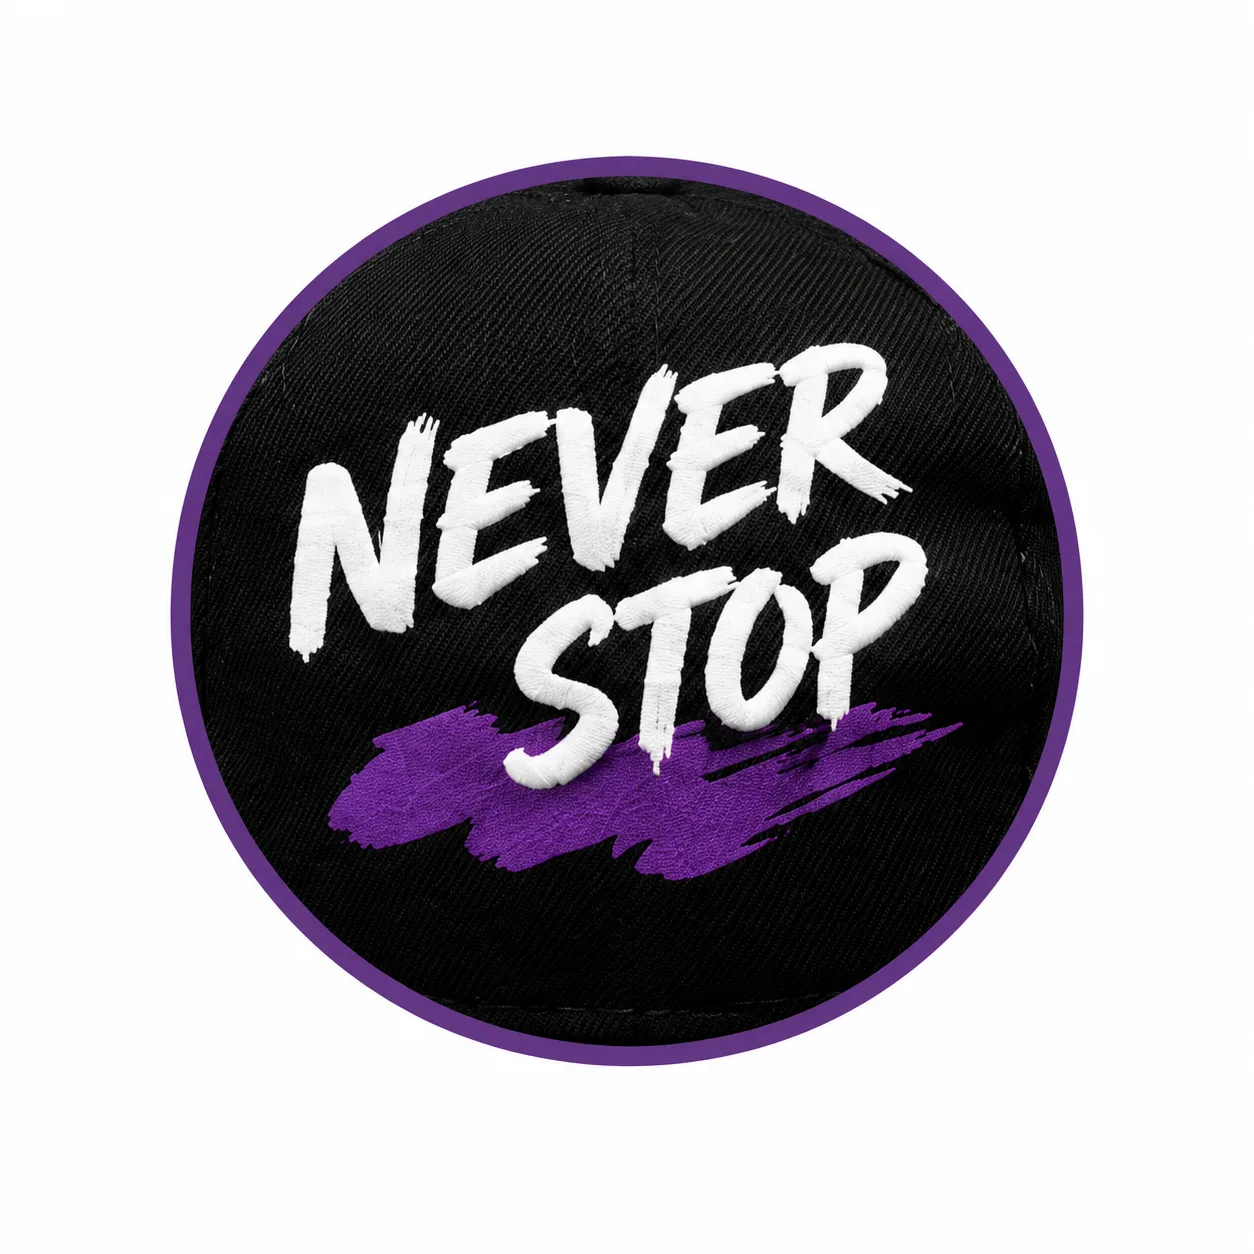
This guide helps fashion, outdoor, workwear, sports and merchandise buyers specify a woven patch as a finished component rather than approving artwork without construction details.
The Direct Answer for Woven Patch Buyers
Set the finished patch size first, simplify artwork at that scale and define the thread colors, weave, border, backing and attachment method. Approve a physical patch before it is applied to the cap, then approve the finished cap for curvature, edge lift, puckering and wearer comfort. Retain the approved patch and attachment specification for reorders.
Woven Patch Construction Card
| Component | Buyer specification | Evidence to approve |
|---|---|---|
| Artwork | Final dimensions, line widths, small text and color zones | Actual-size woven proof |
| Weave | Thread density, surface and detail priority | Physical patch sample |
| Border | Merrowed, laser-cut, heat-cut or folded edge | Edge close-up and flex check |
| Backing | Plain, fabric, adhesive support or other construction | Cross-section description |
| Attachment | Perimeter stitch, concealed stitch or combined method | Finished cap sample |
| Placement | Panel, distance from brim, seams and curvature | Worn front and side views |
Design at Finished Size
A logo that looks clear on a large monitor can fail when woven at 55 mm. Supply vector artwork and specify the final dimensions. Identify the smallest text, line, gap and isolated color area. Remove detail that does not contribute to recognition at normal viewing distance.
Ask for a one-to-one artwork proof and a physical strike-off. Do not enlarge the proof for approval without also viewing it at finished size.
Choose Woven, Embroidered or PVC by the Brand Effect
| Patch type | Best suited to | Main tradeoff |
|---|---|---|
| Woven | Fine lines, small lettering and flat graphic detail | Less raised texture than embroidery |
| Embroidered | Classic thread texture and dimensional appearance | Tiny detail may close or become heavy |
| PVC | Bold molded relief and weather-oriented styling | Requires mold decisions and a different hand feel |
| Printed fabric | Gradients or photographic color | Edge and print durability must be tested |
The right method depends on artwork, brand position, cap fabric, desired texture and quantity. A supplier should explain limitations instead of forcing every logo into the same process.
Control Thread Color and Visual Contrast
Define thread references and view the patch under the lighting used for retail or events. Very similar colors may merge in a dense weave, while high contrast can expose irregular edges. Metallic or specialty effects may require a different construction and should not be assumed from a digital rendering.
Place the patch on the actual cap color during approval. The crown can change the perceived contrast and make an exposed backing edge more visible.
Select the Edge for the Patch Shape
A merrowed edge creates a visible stitched border and works best with shapes that allow the edge to turn cleanly. Laser-cut or heat-cut edges can support detailed silhouettes but require careful sealing and attachment. Folded edges can create a refined label-like appearance when the geometry allows.
Inspect corners, inside curves and narrow projections. These are common places for fraying, uneven width or lifting. The edge should be specified, not left as an unrecorded production choice.
Match Custom Woven Patch Caps to Crown Curvature
A stiff patch can bridge over a curved front panel and create edge lift. A very soft patch may wrinkle during sewing. Define patch thickness and flexibility in relation to the crown structure. Structured baseball caps, relaxed dad hats, foam truckers and knit beanies may require different backing and attachment behavior.
For custom woven patch caps, approval must include the finished cap because a flat patch sample cannot prove how the component follows the crown.
Engineer the Attachment
Perimeter sewing is common, but stitch distance from the edge, thread color, stitch length and start/stop position affect appearance. Ask whether the attachment passes through the sweatband or creates wearer contact. Adhesive support may assist placement but should not be treated as the only durability control unless the application has been validated.
Run a Patch Failure Review
| Observed issue | Likely cause to investigate | Corrective direction |
|---|---|---|
| Small text closes | Artwork detail exceeds woven resolution | Increase size or simplify lettering |
| Patch looks wavy | Backing, tension or crown curvature mismatch | Adjust stiffness and attachment |
| Corners lift | Shape, sealing or stitch path is unsuitable | Revise edge or perimeter sewing |
| Cap front puckers | Attachment tension or panel support is wrong | Balance sewing and crown structure |
| Backing is visible | Edge width, patch placement or color mismatch | Refine edge and backing color |
| Reorder shade changes | Thread reference or supplier lot changed | Retain approved thread standard |
Approve the Patch in Two Stages
- Approve the artwork map and finished dimensions.
- Review a physical woven patch for detail, color, edge and flexibility.
- Apply the accepted construction to the actual cap fabric.
- Inspect front and side views on a wearer.
- Flex the crown and check edge lift or distortion.
- Approve attachment, label and packaging together.
QSHeadwear states typical physical samples take about 3-5 business days after requirements are aligned. New patch constructions, several artwork versions or special thread colors can add development time.
Set Quality Criteria for Bulk
Inspect dimensions, artwork clarity, thread color, missing weave, edge consistency, patch position, attachment stitches, crown puckering, cleanliness and packing. Use close-up reference photos with the written specification. QSHeadwear describes incoming, pre-production, in-line and final AQL 2.5 checks; request an order-specific sampling plan.
Clarify Cost, MOQ and Reorders
Ask for patch setup, cap, attachment, custom labels, packing, inspection and freight as visible cost components. Quantity may be divided by patch version, cap color and style. Retain the approved artwork, thread references, edge, backing and attachment file so the next custom woven patch caps order does not restart from assumptions.
Request a Woven Patch Cap Sample
Review QSHeadwear cap styles, the decoration and sampling process and factory information. Send vector artwork, finished patch size, cap style, fabric, colors, quantity and delivery needs through the contact page to develop custom woven patch caps.
FAQ About Custom Woven Patch Caps
1. What artwork file is best for a woven patch?
Use vector artwork with final dimensions, defined colors and clear identification of the smallest text, lines and gaps.
2. Are woven patches good for small text?
They can reproduce finer detail than many embroidered patches, but actual-size physical approval is still required.
3. What is the difference between woven and embroidered patches?
Woven patches are flatter and detail-oriented; embroidered patches provide more raised thread texture.
4. Which border should a woven patch use?
The best edge depends on shape, desired appearance and attachment; inspect corners and inside curves carefully.
5. Can woven patches be used on structured and unstructured caps?
Yes, but backing flexibility and attachment should be matched to each crown construction.
6. What affects woven patch MOQ?
Patch versions, thread colors, shapes, cap styles, cap colors, labels and packing can affect minimums.
7. How should a woven patch sample be approved?
Approve the flat patch first, then the finished cap for curvature, edge lift, sewing and comfort.
8. Can adhesive alone attach a woven patch?
Attachment requirements vary, but the finished construction should be validated for its intended wear and care conditions.
9. What should bulk inspection check?
Check size, artwork clarity, color, weave, border, placement, attachment, puckering, cleanliness and packing.
10. What should be retained for a reorder?
Retain vector files, dimensions, thread references, edge, backing, attachment method and approved samples.