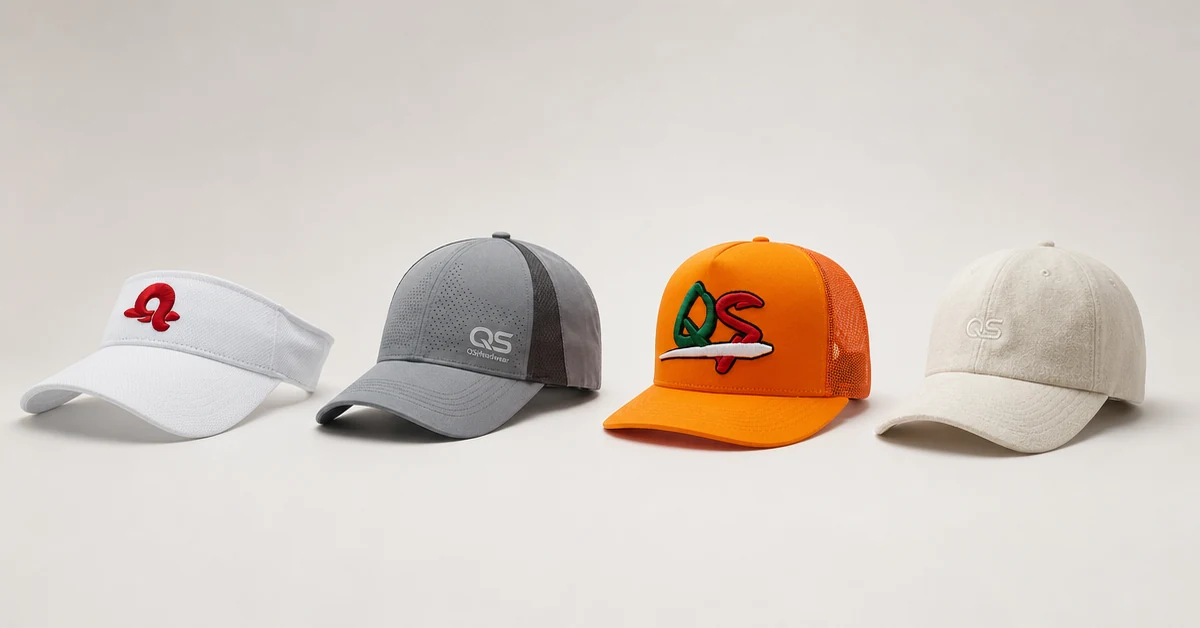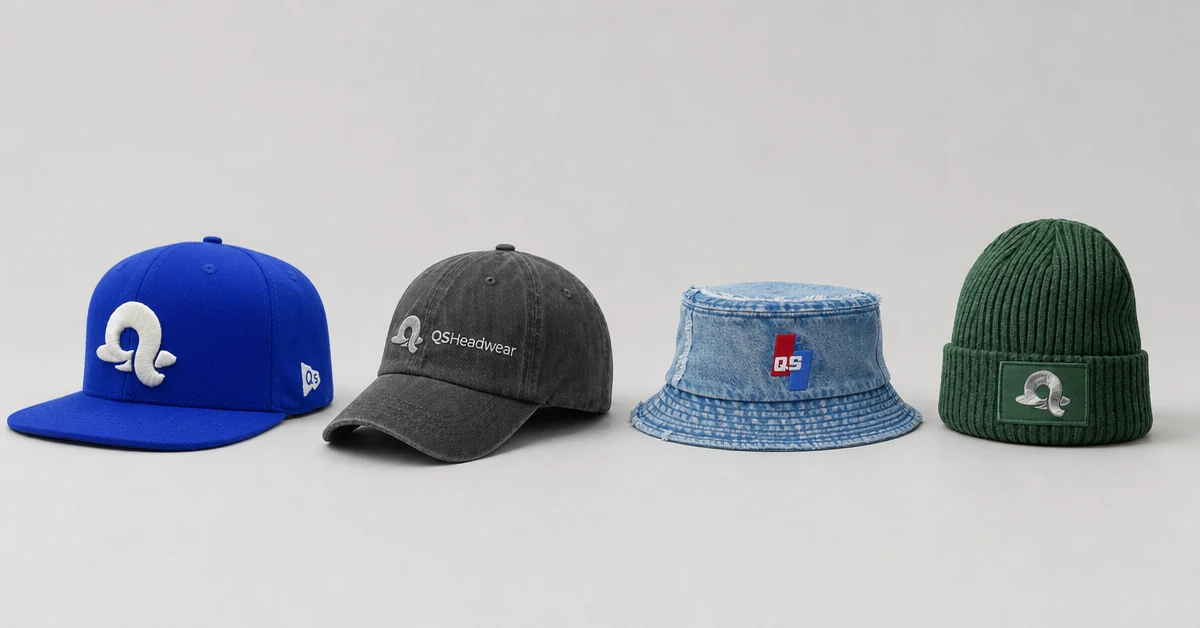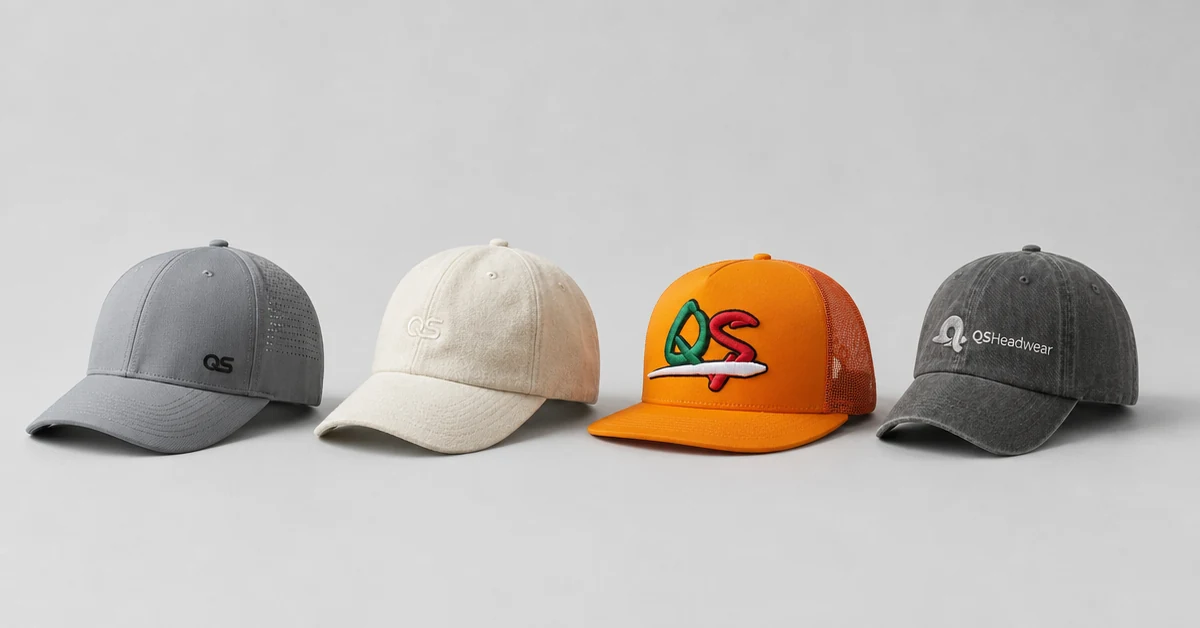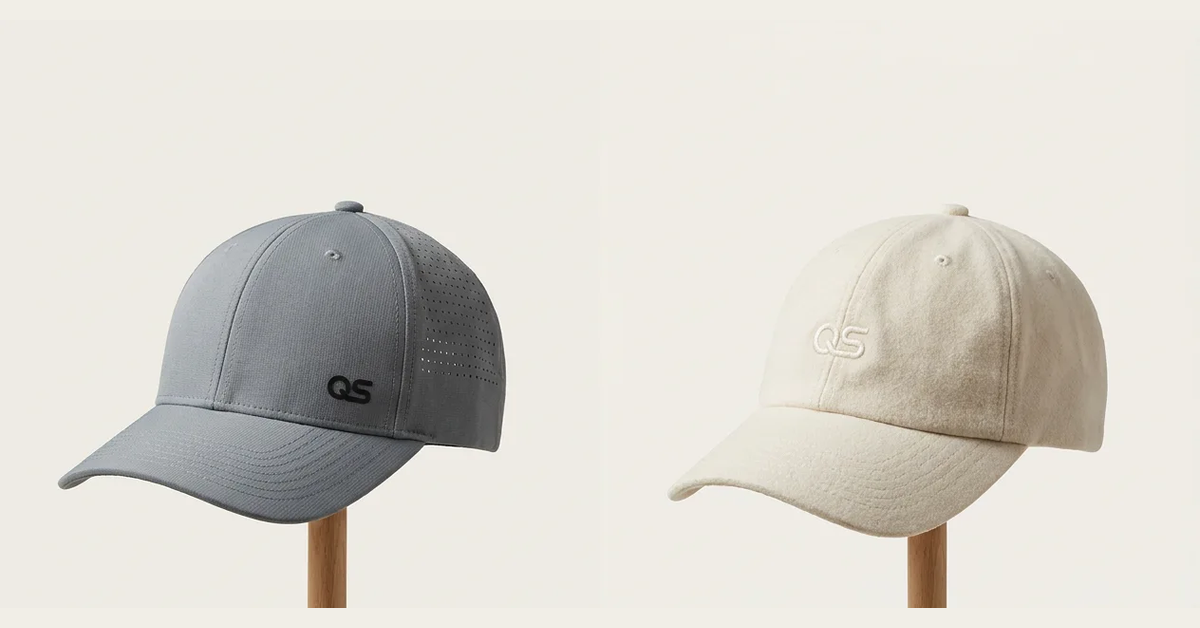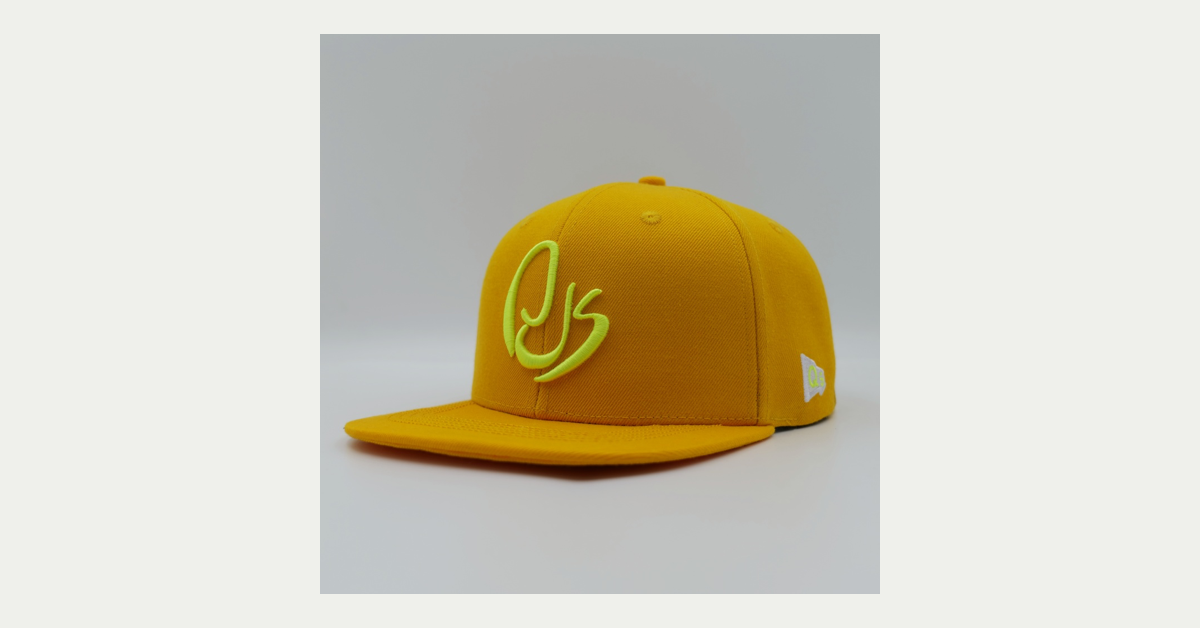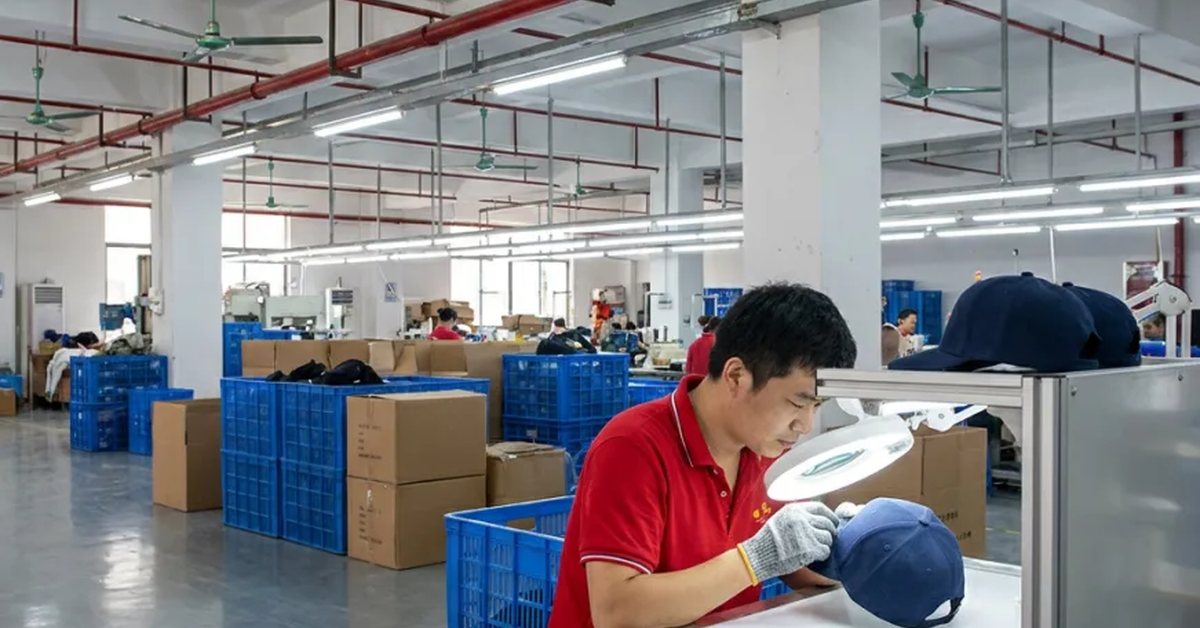


A 3D puff embroidery hats manufacturer must translate a flat logo into a raised, clean and durable surface. Foam thickness, stitch direction, border coverage, cap curve, fabric support and trimming all affect the result. Buyers should choose artwork that suits the technique and approve a finished-size sample before committing to bulk production.
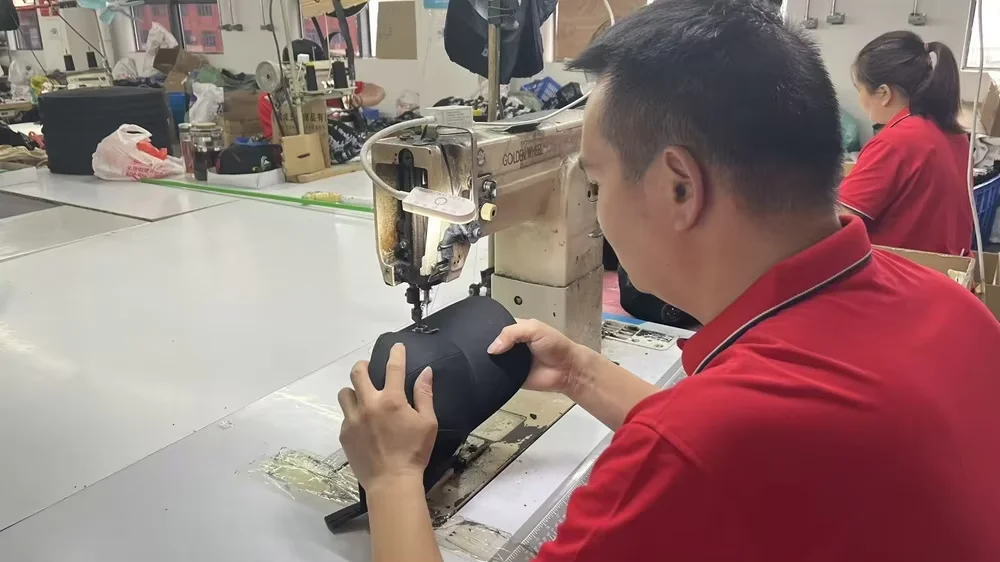
This guide helps brands, streetwear labels, sports teams, retailers and promotional buyers plan raised embroidery without assuming every logo can be converted directly to puff.
3D Puff Embroidery: The Direct Buyer Answer
Use bold artwork with adequate spacing, choose a cap front that can support foam and stitching, approve digitizing and foam height at finished size, and inspect edge coverage, height, trimming and placement on a physical sample. Compare the complete setup, sample and bulk quote rather than only the embroidery unit cost.
3D Puff Buyer Decision Table
| Variable | What to define | Approval evidence |
|---|---|---|
| Artwork | Bold shapes, line width, spacing and simplified details | Finished-size digitizing proof |
| Foam | Thickness, color, coverage and edge treatment | Physical puff sample |
| Cap front | Structure, fabric weight, curve and backing | Sample on the actual cap |
| Stitches | Density, direction, border coverage and thread color | Close inspection and photo record |
| Placement | Finished size, height, distance from seams and brim | Measurement and visual approval |
| Durability | Handling, packing, abrasion and care expectations | Wear or handling check |
Design Artwork for Raised Embroidery
3D puff works best with bold letters, thick outlines, simple icons and clear spaces. Fine text, narrow counters, tiny islands and intricate gradients often lose clarity when foam is covered by stitches. A good digitizer may simplify the artwork, but the buyer should approve every change.
Provide vector artwork, finished dimensions, thread colors and the desired visual hierarchy. Review the proof at the same scale as the final cap, not only on a large monitor.
Choose Foam Height and Cap Support
Thicker foam creates more volume but may require stronger border coverage and a structured front panel. A thin foam can suit a smaller mark or softer cap. Fabric stretch, backing, crown curve and seam position all affect whether the raised logo sits cleanly.
Ask the 3D puff embroidery hats manufacturer to recommend foam and backing based on the cap construction. Do not approve foam in isolation from the product.
Control Stitch Direction and Edge Coverage
Stitch direction shapes the surface and can reveal or hide the foam edge. Border stitches need to cover the foam consistently without cutting into letters or creating loose edges. Corners, inner counters and transitions between letters should be reviewed closely.
Request a close photo and a physical sample. The sample should be inspected from normal wearing distance and at close range for gaps, loose threads, foam exposure and uneven height.
Sample the Technique Before Sampling Many Colorways
Start with one representative cap, logo size and thread color. Approve the technique, then adapt the confirmed digitizing to additional cap colors only when the material and contrast remain suitable. This reduces repeated setup and makes quality comparisons clearer.
QSHeadwear states that typical physical samples are completed in 3-5 business days after requirements are aligned. Add time for digitizing revisions, foam selection, special fabric and additional colorways.
Set Quality Criteria for 3D Puff
- Finished logo size and placement match the approved sample.
- Foam is fully covered where specified and does not show unwanted edges.
- Stitch density and direction create an even raised surface.
- Letters and counters remain legible at normal viewing distance.
- There are no loose threads, skipped stitches, burns or adhesive marks.
- The cap front is not distorted by excessive density or backing.
- Packaging does not permanently flatten or crease the puff.
Confirm how the supplier's incoming, pre-production, in-line and final AQL 2.5 checks will cover the decorated front.
Plan MOQ and Setup Cost
Digitizing and setup can be fixed charges, while foam, thread, cap color and placement affect unit cost. Ask whether the approved digitizing file can be reused, who owns it and how revisions are charged. Confirm MOQ by cap style, color and logo version.
Compare a Complete Raised-Embroidery Quote
Request separate lines for digitizing, sample, foam, cap, embroidery, labels, packaging, inspection, cartons and freight. State finished logo dimensions and quantity by color. A complete quote makes it easier to compare a bold single-color puff logo with a multi-color or multi-location program.
Protect the Approved Digitizing for Reorders
Keep the digitizing file, foam specification, thread colors, backing, sample photos, placement measurements and inspection criteria together. Require written approval for any change to logo size, foam, thread or cap front. A reorder should reproduce the approved height and edge treatment.
Use a Digitizing Approval Workflow
Have design approve the visual interpretation, product approve the finished size and quality approve the physical edge and stitch result. Mark each comment with a file version and identify whether it changes the art, foam, thread or cap. Do not ask the supplier to resolve conflicting feedback from several channels.
Once the proof is approved, archive the source artwork and final digitizing together. This reduces the risk that a future operator opens an earlier file, changes the stitch order or selects a different foam without the brand noticing.
Request a 3D Puff Sample From QSHeadwear
Review the product center, OEM/ODM service page and factory information. Send vector artwork, finished size, cap style, fabric, thread colors, quantity, packaging and target date through the contact page to request a sample and quote from a 3D puff embroidery hats manufacturer.
FAQ About 3D Puff Embroidery Hats
1. What artwork works best for 3D puff embroidery?
Bold letters, simple icons, thick strokes and clear counters work better than fine text or intricate detail.
2. Does foam thickness affect the cap?
Yes. Thickness, backing and stitch density interact with the front panel, fabric, curve and comfort.
3. Can any cap use 3D puff embroidery?
Many structured or supported fronts can work, but the actual cap and artwork should be sampled together.
4. How do I approve a puff embroidery file?
Review a finished-size digitizing proof and then inspect a physical sample for height, edge coverage and legibility.
5. Does 3D puff have separate MOQ?
Digitizing, foam, cap color, thread and production quantity can each affect cost and minimums.
6. How fast can a 3D puff sample be made?
QSHeadwear states typical physical samples take 3-5 business days after requirements are aligned; revisions can add time.
7. What defects matter most?
Check foam exposure, uneven height, skipped stitches, loose threads, distortion, placement and flattened packaging.
8. Can the digitizing be reused?
Usually an approved file can support reorders, but confirm ownership, storage and any revision charges.
9. How should I compare quotes?
Use the same logo size, foam, thread, cap, quantity, packaging, inspection, destination and setup assumptions.
10. How can I protect the puff during shipping?
Approve a pack-out that prevents compression and record the acceptable shape after unpacking.