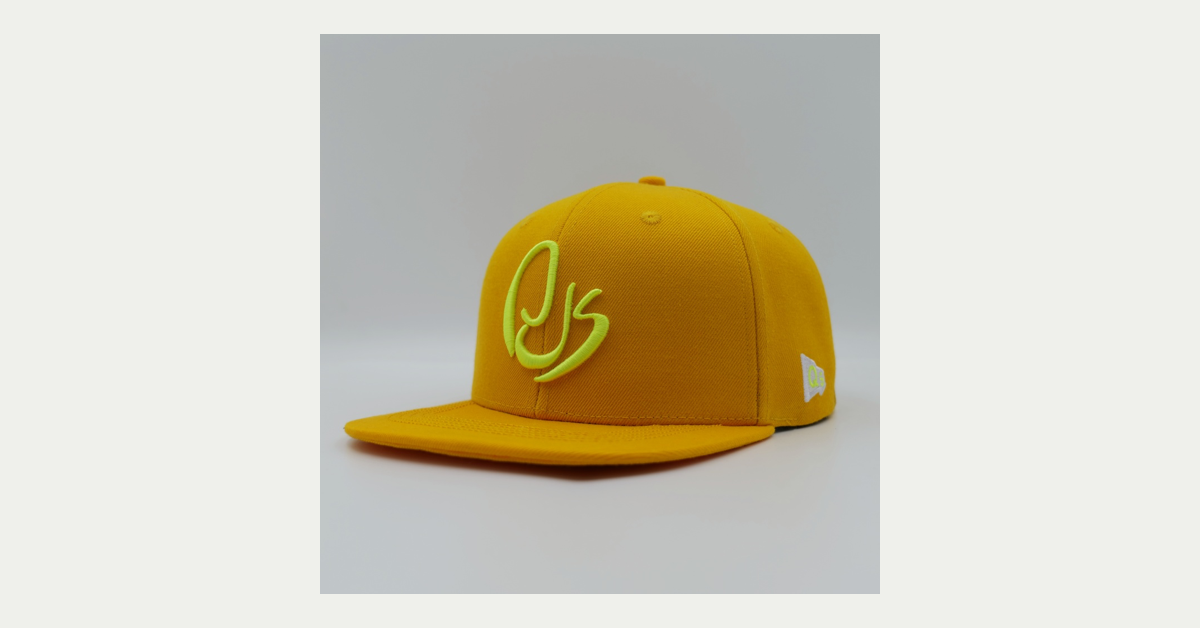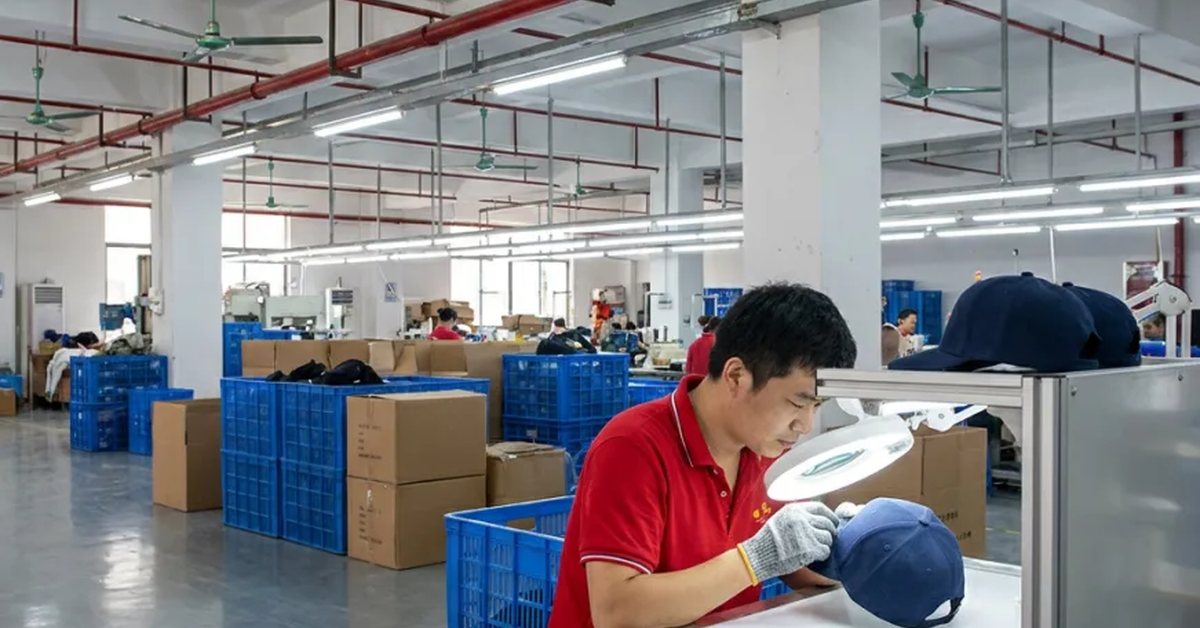


A custom embroidery caps manufacturer is responsible for translating artwork into stitches that remain legible, secure and consistent across a production run. The visible result depends on digitizing, stitch direction, density, thread, backing, fabric, hooping, placement and machine settings. Buyers should evaluate the full embroidery process rather than judging a factory from a single close-up photo.
This guide is for brand owners, merchandisers, sports teams, promotional distributors and designers preparing a logo-driven cap program.
Start With Artwork That Can Be Stitched
Send vector artwork whenever possible and identify the finished width, height, colors, orientation and placement. Small text, thin outlines, tight counters and complex gradients may not translate directly into thread. Ask the digitizer to flag risk and propose a simplified version if the finished size is too small.
| Artwork issue | Potential result | Better input |
|---|---|---|
| Very small lettering | Letters close up or lose legibility | Shorten copy or increase finished size |
| Fine outline | Uneven or weak border | Use a controlled satin or running stitch |
| Dense fill | Heavy, puckered or stiff decoration | Balance density and backing |
| Many colors | Long setup and more thread changes | Define a practical thread palette |
| Curved placement | Distortion near seams or brim | Provide placement views and sample first |
Choose Flat or 3D Puff Embroidery
Flat embroidery is versatile and suits many logos, lettering and icon shapes. Three-dimensional puff embroidery adds height by using foam under the stitches, but it needs thicker lines, open spacing and a suitable placement. A design that works flat may need a different file for puff execution.
Ask for separate digitizing recommendations when the same logo will appear on multiple cap styles or fabrics. Keep the final file version, thread colors and finished dimensions in the artwork approval record.
Match Thread and Backing to the Fabric
Thread sheen, color, thickness and construction influence how the logo reads. Cotton twill, mesh, corduroy, washed fabric and stretch materials do not behave the same under a hoop. Backing stabilizes the fabric, but too much backing can make a soft cap uncomfortable or visible from the inside.
Confirm thread color references, backing type, trim method and whether the backing remains inside the cap. If a washed or distressed finish is planned, ask how embroidery is protected during finishing and how the final effect will be inspected.
Define Placement With Measurements
- State the finished width and height, not only a percentage of the panel.
- Give the distance from center front, seams, brim and crown edge.
- Show front, side and inside views for labels or secondary marks.
- Identify whether placement changes between sizes or colorways.
- Approve a physical sample before bulk production.
Placement should be measured on the actual panel, because the visual center may not match the seam center. Keep an approved photograph with reference lines and the artwork version. This helps a custom embroidery caps manufacturer reproduce the same position across batches.
Review Digitizing and the First Sample
Ask who prepares the digitizing file, how a proof is shared and whether revisions are included. Review stitch direction, density, underlay, pull compensation, trims and color sequence. The proof should show the finished dimensions and thread colors rather than a generic mockup.
On the physical sample, inspect clean edges, filled areas, small details, loose threads, puckering, backing, symmetry and position. Wear the cap and check comfort. A logo may look acceptable flat on a table but feel too stiff when worn.
Build an Embroidery Quality Checklist
A practical inspection checks artwork version, dimensions, position, thread color, stitch coverage, trims, puckering, backing, needle marks, loose threads and cap measurements. Define acceptable variation before production. If a logo is critical to the brand, approve a golden sample and use it during in-line and final inspection.
QSHeadwear describes incoming material inspection, pre-production sample approval, in-line monitoring, workmanship and dimensional checks, final AQL 2.5 inspection and packing checks. Ask how decoration defects are classified and corrected before shipment.
Consider Quantity and Setup Cost
Embroidery has development and machine setup work as well as a per-piece cost. Stitch count, number of locations, thread colors, cap material and quantity affect the quote. Multiple small color runs can be less efficient than one larger run, even when total pieces are identical.
Ask for separate lines for digitizing, sample stitching, extra locations, patches, labels, inspection and packaging. Confirm whether revisions or a new artwork version create a new setup charge.
Compare Factory Capabilities, Not Only Machines
Machine count is only one signal. Ask how artwork is reviewed, how files are controlled, how hoops are positioned, how operators check first pieces, how defects are isolated and how repeat orders use approved records. A responsive factory should ask technical questions before promising every logo will be easy.
Request a schedule that separates digitizing, proof approval, sample stitching, material readiness, bulk embroidery, finishing, inspection, packing and freight. This makes the real delivery risk visible.
Use a Controlled RFQ for Decoration
Send the same logo files and placement brief to shortlisted suppliers. Ask for the recommended technique, finished size, estimated stitch count, thread palette, backing, sample timing, MOQ, quantity break and quality plan. Compare the response quality as well as price.
A transparent custom embroidery caps manufacturer will explain when artwork needs simplification and which tradeoff protects legibility, comfort or durability.
Score Embroidery Capability Before the Order
Use a scorecard covering digitizing quality, sample accuracy, stitch consistency, material knowledge, placement control, revision handling, inspection records, capacity and communication. Ask finalists to review the same artwork and explain their recommended size, density, backing and technique. This makes the comparison about production judgment, not only machine count.
Record the approved file, thread references, backing, placement, sample version and tolerance. A custom embroidery caps manufacturer should be able to connect that record to the operator instructions and final inspection rather than treating every repeat order as a new interpretation.
Control Repeat Orders and Colorways
When a logo moves across several cap fabrics or colors, keep one master artwork file and a separate placement sheet for each style. Record thread substitutions, material changes and any accepted color variation. A thread color that looks correct on a white cap may need a different contrast decision on black, washed or textured fabric.
Review first-piece approval for each new material or colorway. Do not assume that a successful sample on cotton proves identical results on mesh, corduroy or coated fabric.
Review the Delivered Decoration
Sample cartons from different production stages and compare logo position, stitch coverage, color, trims, backing, puckering and cap measurements with the approved reference. Record defect frequency and corrective action. Use the result to update artwork limits, inspection frequency or the next quote.
Set Approval Gates for a Multi-Style Program
When one logo appears on several cap blocks, approve the first decorated piece for each material and placement before the line runs. Keep the same artwork version, thread references and golden sample visible to operators and inspectors. A different fabric may require a new density or backing even when the logo file is unchanged.
Use the results to establish a practical tolerance for the custom embroidery caps manufacturer. The goal is consistent brand presentation with a clear process for acceptable variation, rework and escalation.
Protect Files for Future Reorders
Store original vector artwork, digitized files, proof images, approved sample photos, thread references, placement sheets, inspection notes and change history. Restrict editing of the approved master and issue a new version when the logo or size changes. This reduces the risk of an old file being used on a repeat order.
Request a Project Review From QSHeadwear
Review the QSHeadwear OEM/ODM service, browse the headwear product range and check the factory information. Send vector artwork, cap style, fabric, placement, quantity by color, labels, packaging and target date through the contact page.
The team can review the decoration method, sample requirements, quality checkpoints and delivery assumptions before preparing a comparable quote.
FAQ About Custom Embroidery Caps Manufacturer
1. What artwork file should I send?
Send vector artwork with finished dimensions, colors, placement, orientation and any small-detail priorities.
2. Is flat embroidery or puff embroidery better?
Flat suits many logos; puff adds height but needs suitable line weights, spacing and placement.
3. Why does embroidery pucker?
Fabric stability, backing, density, stitch direction, hooping and pull compensation can all contribute.
4. How should I specify logo placement?
Give measured distances from seams, brim and panel edges and approve a physical sample with reference lines.
5. Does stitch count affect price?
Usually. Stitch count, colors, locations, material, setup and quantity all influence decoration cost.
6. Can embroidery go on mesh or corduroy?
Often, but each material needs suitable stabilization, density and placement. Confirm with a sample.
7. How can I protect small lettering?
Increase finished size, simplify the artwork or use a different decoration method when necessary.
8. What should I inspect on a sample?
Check dimensions, position, thread color, stitch coverage, edges, trims, puckering, backing and comfort.
9. How long does an embroidery sample take?
Timing depends on digitizing, artwork approval, materials and machine capacity; request a project calendar.
10. How do I request an embroidery cap quote?
Send artwork, cap style, fabric, locations, quantities, labels, packing, destination and target date through the contact page.