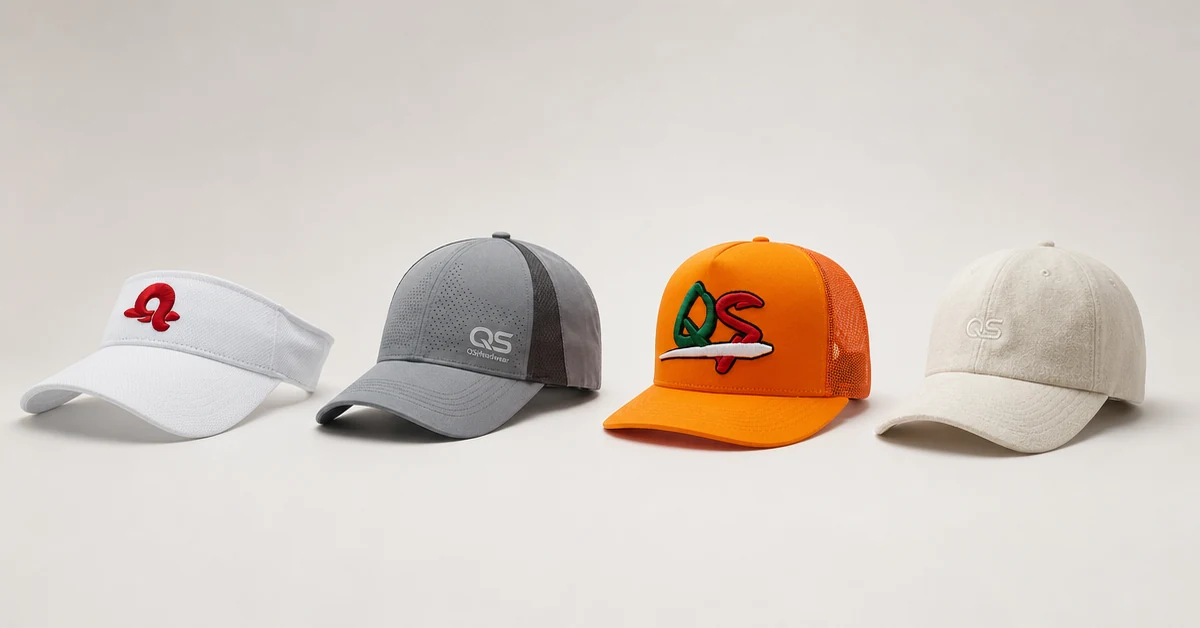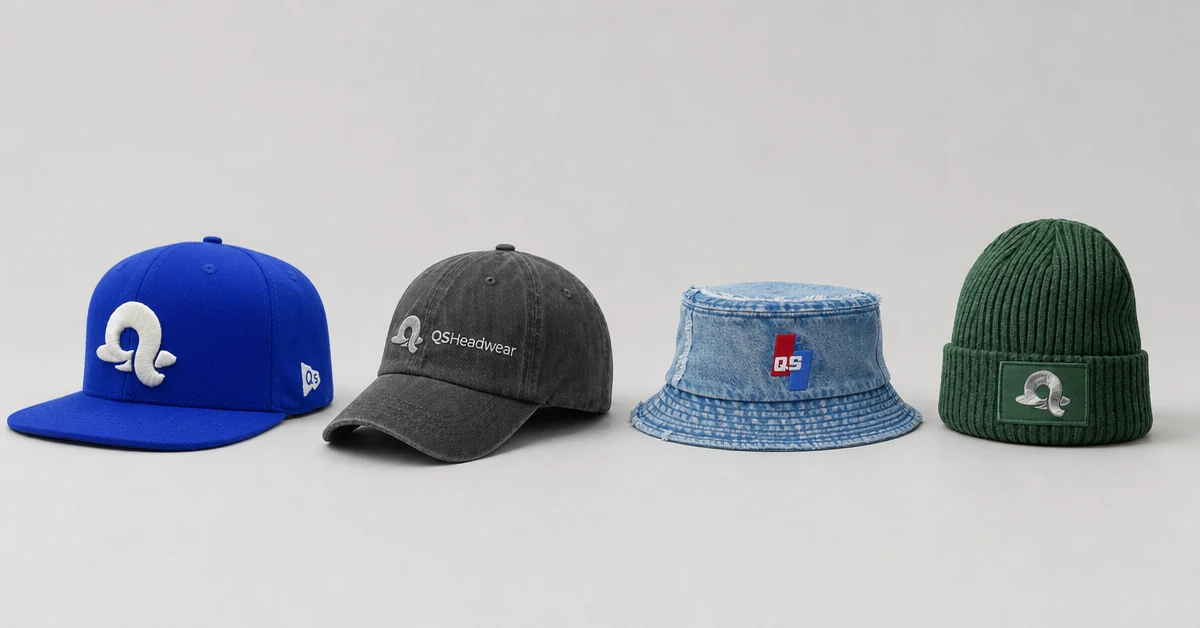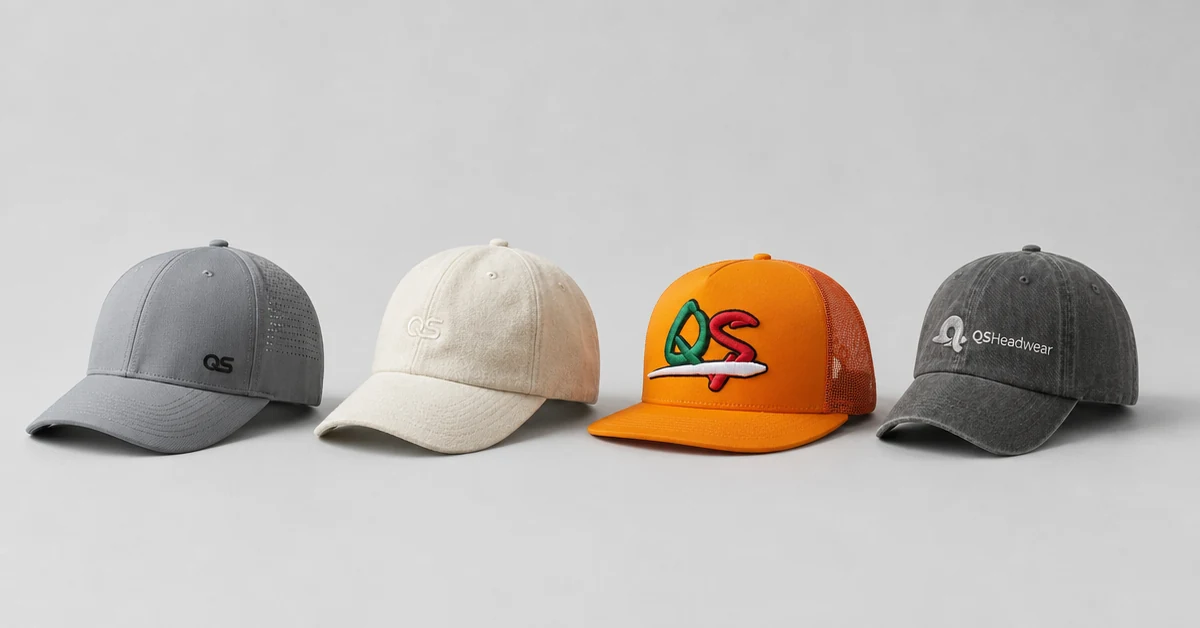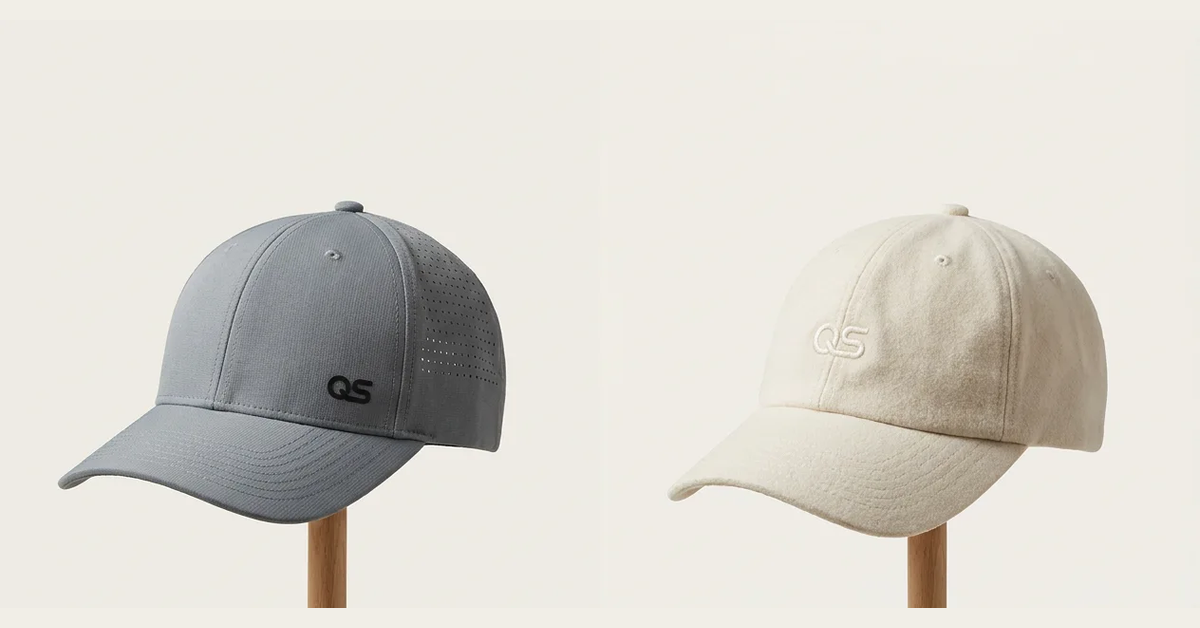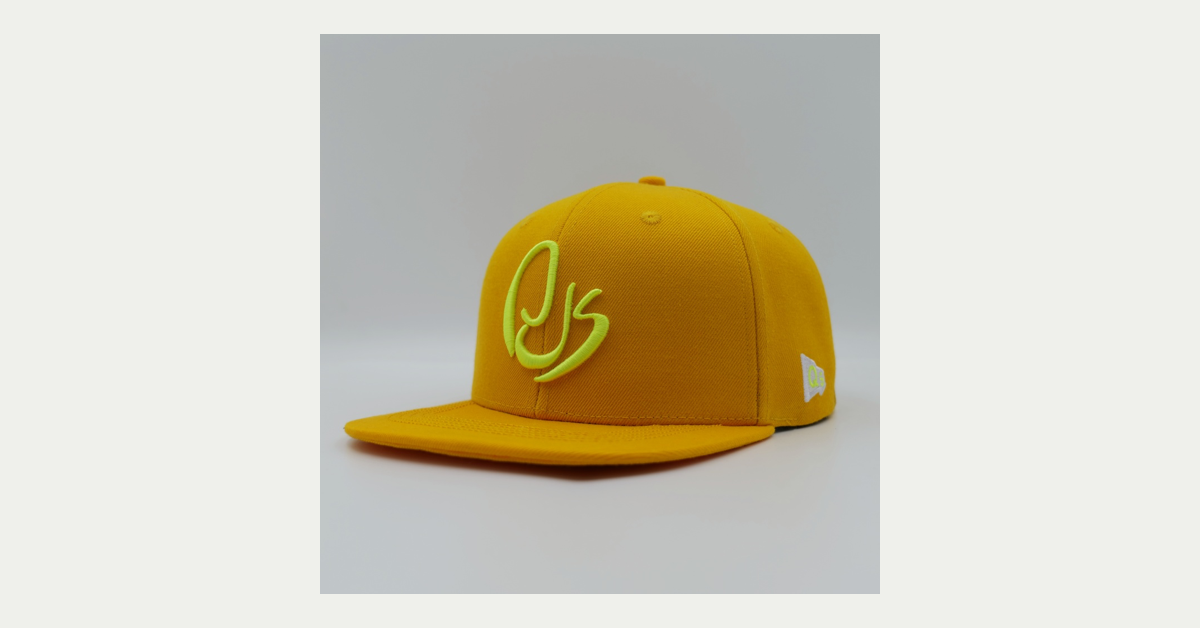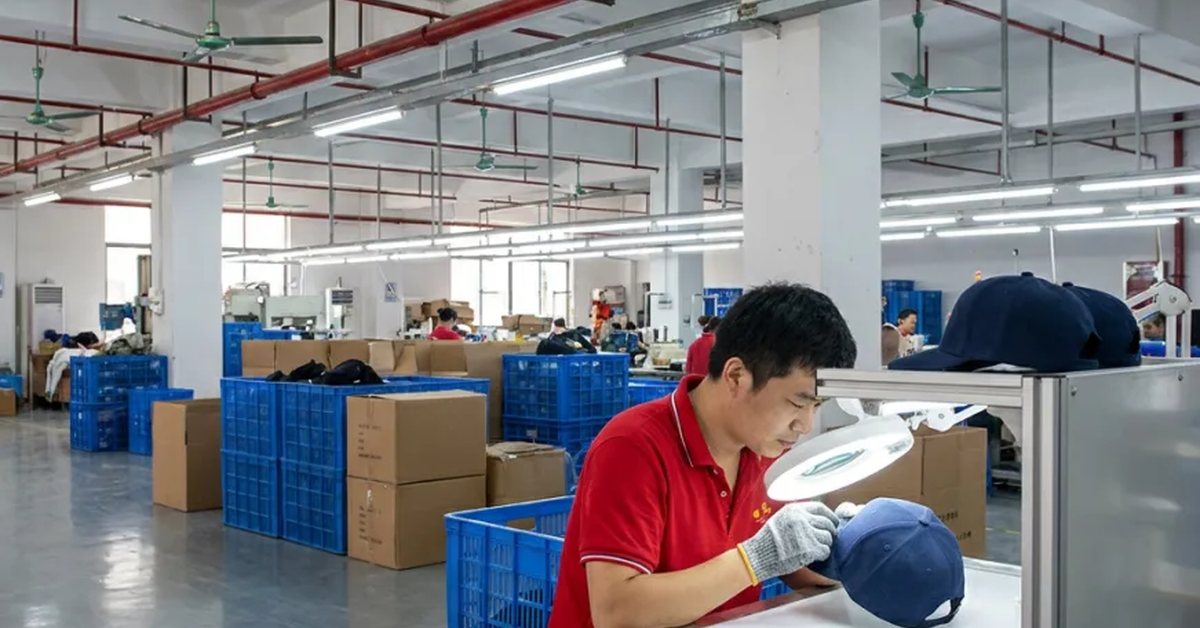


The custom hat manufacturing process turns an idea into a controlled set of materials, dimensions, workmanship standards and packing instructions. The visible cap is only the result. Reliable production depends on the decisions made before cutting begins and on the records maintained through sampling, bulk production and final inspection.
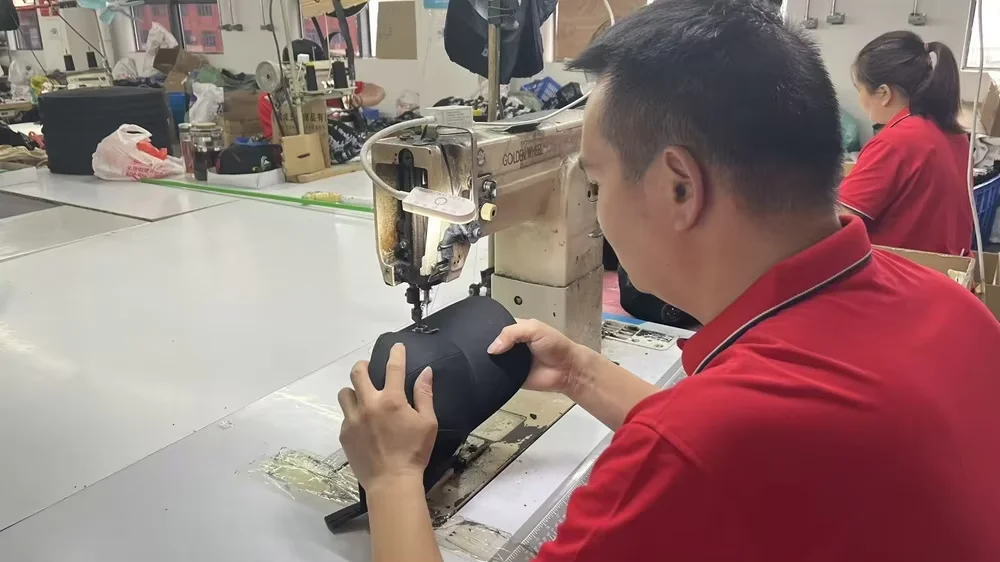
This guide follows the workflow used for custom baseball caps, snapbacks, dad hats, trucker hats, bucket hats, visors and related headwear. It helps brand owners, retailers and sourcing teams understand what they need to approve at each stage.
Custom Hat Manufacturing Process Overview
| Stage | Buyer decision | Factory output | Main risk |
|---|---|---|---|
| 1. Brief | Audience, style, quantity and market | Feasibility review | Vague scope |
| 2. Specification | Structure, materials and details | Tech pack or production record | Missing tolerances |
| 3. Sampling | Fit, appearance and workmanship | Approved physical sample | Subjective approval |
| 4. Pre-production | Final quantity and packing | Materials and production plan | Late changes |
| 5. Manufacturing | Approved standard remains frozen | Cut, decorated and sewn hats | Process drift |
| 6. QC and packing | Inspection scope and shipping marks | Released order | Unclear defect rules |
Step 1: Define the Buyer, Product and Use Case
A good manufacturing brief begins with use, not decoration. A running cap, streetwear snapback and promotional cotton cap have different expectations for weight, structure, ventilation, fit and price. State who will wear the product, where it will be sold, the target retail position, expected quantity and delivery market. Buyers still weighing silhouettes can start from our cap style sourcing guide.
Choose the base style from the QSHeadwear product range, then define panel count, crown profile, brim shape and closure. Reference images help communicate direction, but the final specification must use measurable language.
Step 2: Convert the Idea Into Production Specifications
The factory and buyer align the structure before a sample is made. A headwear production record normally covers:
- panel configuration and crown height;
- head circumference and fit range;
- brim material, length, width and curve;
- fabric, lining, sweatband and eyelets;
- closure, top button, seam tape and reinforcement;
- logo artwork, dimensions, position and colors;
- internal labels, hangtags and packaging.
Vector AI or PDF artwork is preferred for embroidery planning and print preparation. If the buyer supplies a physical reference sample, the factory should record which features are copied as targets and which are being changed.
Step 3: Select Materials and Components
Material selection affects feel, appearance, decoration, stability, cost and lead time. Cotton twill is common for casual caps; polyester can suit performance and promotional uses; wool blends, corduroy, suede and denim create different fashion positions. RPET and organic cotton may support a sustainability brief when documentation and order scope are verified.
Check color source, weight, shrinkage risk, surface texture and compatibility with embroidery or printing. A material name alone is insufficient. Keep an approved swatch or supplier code where possible.
Step 4: Engineer the Logo and Decoration
Decoration translates brand artwork into a physical process. Flat embroidery supports fine, controlled stitching. 3D puff embroidery creates height but requires suitable shapes and minimum stroke widths. Woven, embroidered, felt, leather and PVC patches each behave differently at edges and during attachment. Screen print, heat transfer, sublimation and reflective print depend on substrate and use conditions.
A custom embroidery caps manufacturer should confirm thread colors, stitch density, backing, placement tolerance and how the logo looks across curved panels. Approve the physical effect, not only the digital mockup.
Step 5: Create and Review the Physical Sample
The sample tests whether the recorded specification produces the intended product. QSHeadwear states a typical custom hat sample lead time of 3-5 business days after requirements are aligned, although special materials and revisions can extend it.
Review the sample in a fixed order:
- Confirm silhouette, crown stability and fit.
- Measure key dimensions and brim geometry.
- Compare material, color and hand feel.
- Inspect logo size, placement, density and clean edges.
- Check seams, eyelets, sweatband, closure and internal trims.
- Review labels, hangtags and packing presentation.
List corrections with measurements or annotated photos. Avoid comments such as "make it better" or "slightly smaller" because they cannot become repeatable production instructions.
Step 6: Approve the Pre-Production Standard
Once corrections are complete, freeze the approved sample and documentation. The pre-production record should include the purchase quantity by color, bill of materials, artwork version, packing method, carton marks, inspection requirements and delivery plan.
Late design changes after material booking can create waste, delay and inconsistent output. If a change is unavoidable, issue a dated revision and confirm which earlier document it replaces.
Step 7: Fabric Cutting and Panel Preparation
Fabric is spread and cut according to approved patterns. Accurate cutting affects panel symmetry, crown dimensions and how seams meet. Depending on material and design, the factory prepares panels, brim components, reinforcement and small parts before decoration and assembly.
Material identity and color lot should remain traceable. Mixing lots without approval can create visible shade variation across one order.
Step 8: Embroidery, Printing or Patch Production
Many logos are applied to panels before the cap is fully assembled because the flat panel can be held and positioned more accurately. Machine settings, thread tension and backing must suit the fabric. Printed panels require controlled placement, curing or transfer conditions.
First-off pieces should be compared with the approved sample before the full run continues. Early verification limits the quantity exposed to a repeated setup error.
Step 9: Sewing and Assembly
Operators join panels, build the crown, attach the brim, apply seam tape and sweatband, add closures and install details such as top buttons and eyelets. Sequence matters: a clean cap depends on consistent seam allowance, panel alignment and control of bulky intersections.
In-line inspectors compare work with the approved standard during production. QSHeadwear describes checks on stitching alignment, embroidery density and panel symmetry rather than waiting until all pieces are finished.
Step 10: Pressing, Shaping and Finishing
Finished caps are steamed or pressed to establish the intended crown and brim form. Loose threads are trimmed and decorative details are reviewed. Shape should be checked on appropriate head forms or measurement fixtures so the order does not depend on visual judgment alone.
Step 11: Final Quality Control
Custom cap quality control should verify material, color, dimensions, logo, stitching, shape, closure, cleanliness, labels and packing. QSHeadwear presents a final AQL 2.5 inspection. ISO 2859-1:2026 describes acceptance sampling plans indexed by AQL for lot-by-lot inspection. AQL is not a promise that every piece is perfect; buyers and suppliers should agree defect classes, sample plan and corrective action.
Step 12: Packing and Global Delivery
Caps may require shape protection, individual bags, size or SKU labels, hangtags, inner cartons and export cartons. Carton quantity, dimensions, gross weight and marks should match the shipping plan. QSHeadwear supports express, air and sea freight, plus DDP options for applicable European and North American shipments.
ISO 780:2015 defines graphical symbols for handling and storage instructions on distribution packaging. Use only relevant markings and make sure the forwarder and destination requirements are also satisfied.
What Determines Custom Cap Production Lead Time?
Custom cap production lead time depends on material availability, process complexity, approval speed, order quantity and factory schedule. QSHeadwear presents regular bulk timing of about 15-20 days and approximately 25-30 days for orders above 5,000 pieces. These are planning ranges, not a substitute for an order-specific commitment.
Build the launch calendar backward from required arrival date, allowing time for sample review, revisions, material booking, production, inspection, freight and customs. The shortest quoted factory time is not useful if the approval and logistics plan is incomplete.
A controlled custom hat manufacturing process protects the calendar by freezing inputs before each stage. If artwork, fabric or packaging remains open, the stated production clock has not truly started.
Documents Buyers Should Keep for Reorders
- final tech pack and bill of materials;
- approved physical sample reference;
- artwork and embroidery or print version;
- color and material standards;
- inspection results and accepted deviations;
- label, packaging and carton specifications;
- purchase order and shipment record.
Use those records to review changes before a repeat order. Even when the same people and machines are involved, fabric lots, trims and artwork files can change. A documented custom hat manufacturing process makes the intended standard visible to new team members and prevents approval history from disappearing into email threads.
Start a Controlled Custom Headwear Project
Dongguan Qisheng Cap & Bag Co., Ltd. reports 15+ years in headwear manufacturing, 100+ skilled staff, 30+ embroidery machines and monthly capacity of 120,000-150,000 pieces. Its custom cap manufacturing services cover OEM files, ODM development, sampling, private labels, quality control and international delivery.
Contact QSHeadwear with your artwork, target quantity, delivery market and required date. The team can identify missing specifications before they become sample or production problems.
FAQ About the Custom Hat Manufacturing Process
1. What is the first step in custom hat production?
Define the wearer, use case, style, quantity, market and delivery target before selecting detailed materials and decoration.
2. Do I need a tech pack?
A complete tech pack is ideal for OEM work. Clear reference samples and artwork can also be developed into a production specification.
3. When is embroidery applied?
It is commonly applied to cut panels before full assembly, depending on logo position and cap construction.
4. How long does sampling take?
QSHeadwear states 3-5 business days in typical cases after specifications are aligned, subject to complexity and materials.
5. What should I approve on a sample?
Approve shape, fit, dimensions, material, color, logo, seams, trims, labels and packing details.
6. Can I change the design after sample approval?
Yes, but changes can affect cost, materials and timing. Issue a controlled revision and obtain a new approval where needed.
7. What happens during in-line QC?
Inspectors compare work in progress with the approved standard to detect repeated errors before the order is complete.
8. What does AQL 2.5 mean?
It is an index used in an agreed statistical sampling plan. The actual sample size and acceptance criteria depend on the lot and inspection setup.
9. Why are caps steam-shaped?
Pressing and steam help establish consistent crown and brim form before final inspection and packing.
10. What information is needed for a production quote?
Provide style, quantity by color, materials, artwork, decoration, labels, packing, delivery country and deadline.