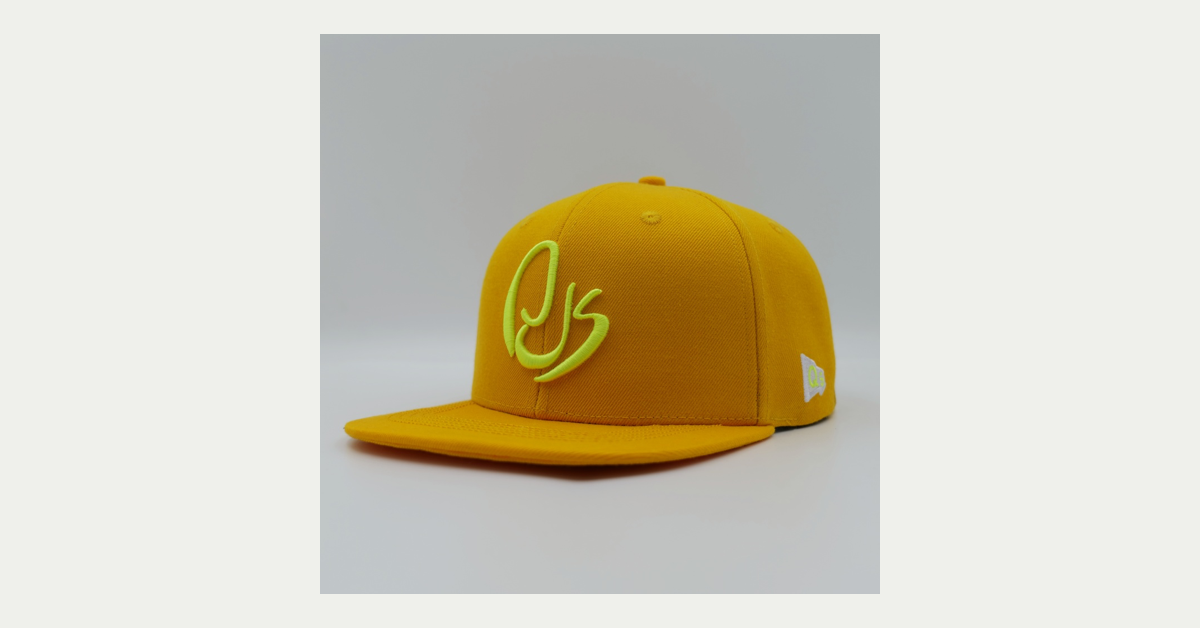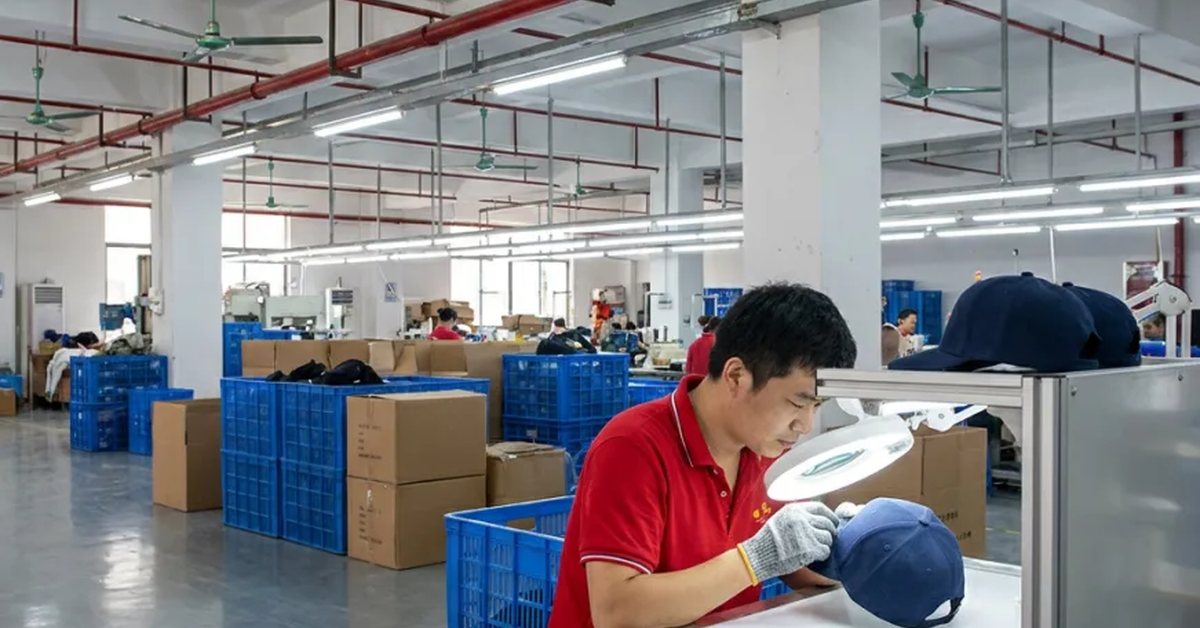


Custom leather patch hats combine a tactile patch with a cap construction that must support its weight, edge and attachment. The buyer needs to decide the leather look, surface finish, artwork method, patch profile, backing, stitching or adhesive, placement and care expectations before approving a sample. A patch that looks attractive on a flat mockup can lift, wrinkle or overpower the cap when produced.

This guide helps brands choose a patch system that fits the cap, customer, price point and production plan.
Leather Patch Hat Sourcing: The Direct Answer
Start by defining the patch's material appearance, finished size, thickness, shape, artwork, backing and attachment. Test it on the selected cap rather than approving the patch alone. Confirm material documentation and care expectations, then set quality limits for edge, color, logo legibility, placement and adhesion or stitching.
Leather Patch Decision Table
| Decision | Options to compare | Evidence to approve |
|---|---|---|
| Material | Natural leather, split leather or leather-look alternative | Material description and physical swatch |
| Surface | Deboss, print, laser mark, smooth or textured finish | Finished-size artwork sample |
| Shape | Rectangle, circle, shield, custom contour | Cut edge and cap placement |
| Backing | Stitch, adhesive, heat seal or combination | Attachment test after handling |
| Cap match | Cotton, denim, corduroy, wool blend or performance fabric | Patch sitting flat on the cap |
| Care | Cleaning and wear expectations | Care guidance and order note |
Choose the Material Honestly
"Leather patch" can describe different materials and finishes. Natural leather, split leather, bonded leather and synthetic leather-look materials have different grain, thickness, color variation, cost and care. If the buyer requires a specific material or animal-origin position, state it clearly and request documentation for the selected material.
A factory should not replace a requested material silently. Record the approved swatch, thickness, color tolerance and finish. This is especially important when a brand expects the same patch appearance on future orders.
Design Artwork for the Patch Surface
Debossed, embossed, laser-marked and printed artwork each have limits. Fine lines can disappear in a grain texture; small reversed text may need a larger stroke; deep debossing can affect a thin patch. Set the finished patch size before simplifying the logo.
Request a proof at actual size and check the brand mark from the distance a customer will see it. Keep an approved digital file and physical reference together.
Match Patch Shape to Cap Construction
A patch should sit flat on the front panel without crossing seams, vents or a sharp curve. A wide rectangle may work on a structured five-panel cap, while a smaller contour patch can suit an unstructured dad hat. Patch corners, edge paint and thickness affect how the cap flexes.
Ask the custom leather patch hats supplier to show the patch on the actual cap material. Approve placement from front, side and normal wearing distance.
Compare Attachment Methods
Stitching gives a visible mechanical attachment and may require a suitable edge. Adhesive or heat-seal backing gives a clean face but needs a compatible cap surface and controlled application. A combination can improve security but may add process steps. The right method depends on patch weight, cap fabric, expected wear, washing and the desired look.
Test the attachment after bending, rubbing, packing and reasonable handling. Do not approve a patch only because it holds on a stationary sample.
Approve the Whole Cap, Not Just the Patch
Check crown shape, brim, closure, patch alignment, edge, color, label, sweatband, loose threads and packaging. Compare patch thickness with the cap's comfort and balance. Photograph the approved relationship between patch and front panel.
Keep a version number for patch artwork and cap construction. If the cap changes from cotton to corduroy or from structured to soft, repeat the attachment test.
Quality Criteria for Leather Patch Hats
- Patch dimensions and shape remain within agreed tolerance.
- Surface color and finish are consistent with the approved swatch.
- Logo edges are legible with no missing marks or unwanted burns.
- Patch sits flat without lifting, wrinkling or visible adhesive residue.
- Placement is centered and clear of seams and vents.
- Cap fabric and patch attachment show no damage after handling.
- Packaging protects the patch from pressure, moisture and abrasion.
QSHeadwear describes material checks, pre-production approval, in-line inspection and final AQL 2.5 checks. Confirm the order-specific checklist for the chosen patch and cap combination.
Plan MOQ and Cost by Patch Component
Leather or leather-look sheets, custom cutting, marking, backing, stitching, tooling and packaging can each influence MOQ and price. Ask for the patch minimum separately from the cap minimum. Confirm whether a tooling or artwork setup fee is reusable for reorders.
For a first run, one patch size and a limited color range can provide stronger evidence about customer response and production consistency than many small variants.
Protect Material and Care Claims
Ask the supplier what material name can be used in product copy and what care instruction applies. Do not describe a synthetic alternative as natural leather or make durability claims without an agreed test or evidence. Keep the material and care wording with the order file.
Plan the Patch Program for Repeat Colors
If the collection will expand, define a small approved patch library: material, finish, color, size, shape and artwork version. A library can support several cap styles while keeping the brand recognizable. Confirm whether each patch can be reordered from the same source and how natural variation will be judged.
For a first launch, use one patch system and one or two cap constructions. This makes it easier to compare customer response, attachment performance, returns and reorder demand before adding more finishes.
Request a Patch Hat Quote From QSHeadwear
Send the cap style, patch artwork, finished size, material preference, surface finish, attachment, quantity by color, packaging, destination and target date. Review the product center, OEM/ODM workflow and company information, then use the contact page to request a sample and quote for custom leather patch hats.
FAQ About Custom Leather Patch Hats
1. What materials can be used for leather patch hats?
Natural leather, split leather, bonded leather and leather-look alternatives are possible, but they differ in appearance, care and documentation.
2. How should leather patch artwork be prepared?
Provide vector artwork and approve the finished-size proof because fine lines and small text may not reproduce on textured material.
3. Should the patch be stitched or bonded?
Choose based on patch weight, cap fabric, wear, washing, appearance and the supplier's attachment test.
4. Can a leather patch go on any cap?
It should be tested on the actual cap because seams, curves, fabric and structure affect whether it sits flat.
5. How do I approve patch color?
Approve a physical swatch or sample and record acceptable variation because leather-like surfaces can vary by batch.
6. What is the MOQ for leather patch hats?
Confirm cap, patch material, cutting, artwork setup, backing, packaging and color minimums separately.
7. How fast can a leather patch sample be made?
The timing depends on patch material and marking; request a project-specific schedule after artwork and specifications are aligned.
8. What defects should quality control check?
Check patch dimensions, finish, logo legibility, edge, placement, flatness, attachment and cap damage.
9. Can leather patch artwork be reused on a reorder?
Usually the approved artwork and tooling can support a reorder, but confirm ownership, storage and material availability.
10. What should I include in a leather patch RFQ?
Include cap style, patch material, size, shape, artwork, finish, attachment, quantity, packaging, destination and target date.