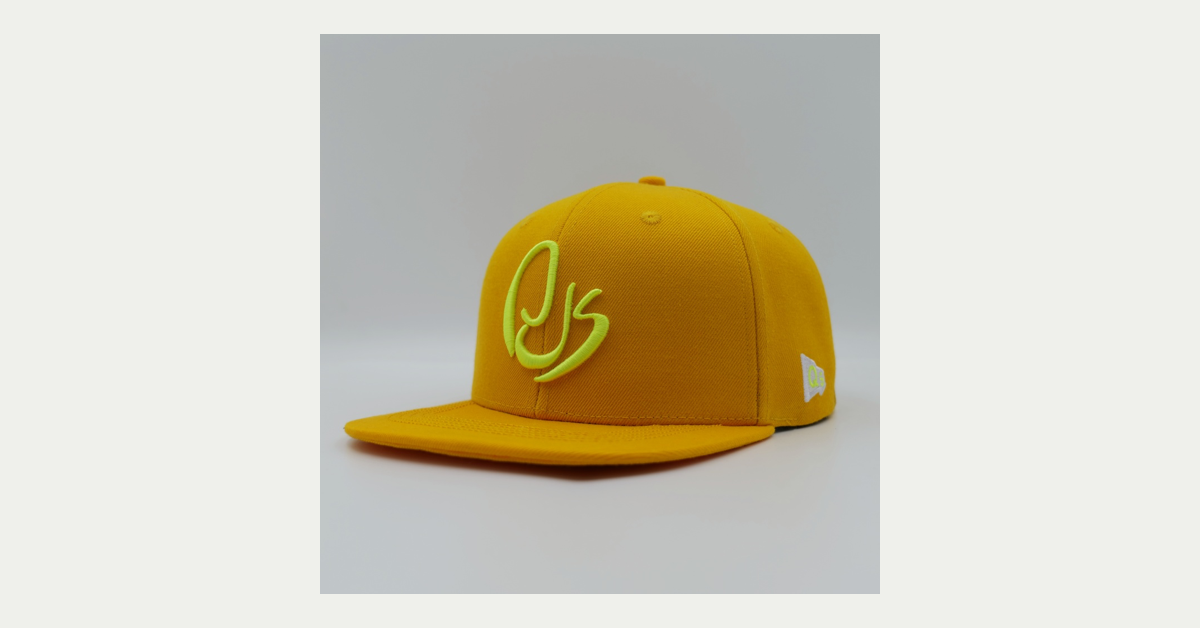


Custom reflective print caps need a more precise brief than “make the logo shine.” Reflective film, ink or transfer can look strong in a studio photograph and still underperform when the cap bends, gets wet, is viewed off-angle or is washed. Define the intended visibility effect, then test the complete cap under repeatable conditions.
This article is for running brands, outdoor labels, event organizers and workwear buyers who need a controlled reflective accent without making unsupported safety claims.
Define the Visibility Job
Is the reflective detail a low-light style cue, a runner’s visibility accent, a sponsor mark or part of a certified safety product? These are different briefs. State viewing distance, expected light source, wearer movement, placement, season and care route. Do not describe a fashion accent as certified protective equipment without the required evidence.
Choose the Print Route With the Fabric
Reflective transfer, screen print and specialty films have different bonding, hand, stretch and edge behavior. Record the cap fabric, finish, color, stretch and heat tolerance. Dark fabric can increase contrast, while textured or water-repellent surfaces may reduce adhesion. The final test must use the actual material and process.
Translate Artwork Into a Reflective Zone
| Artwork decision | Why it matters | Approval evidence |
|---|---|---|
| Line thickness | Fine lines can break or lose reflectivity | Actual-size transfer on fabric |
| Letter size | Small text may become unreadable at distance | Viewing test from agreed distance |
| Placement | Curvature changes how light returns | Front, side and worn photographs |
| Coverage | Large areas add stiffness and heat | Hand and flexibility check |
| Clearance | Seams and eyelets interrupt graphics | Panel template with protected zones |
Use panel templates, not only a flat front view. A continuous stripe may need a deliberate break at a seam. A logo that must read from the side should be positioned and tested from the side.
Test Reflectivity at More Than One Angle
Photograph the sample under controlled light from the front, three-quarter and side angles. Compare dry and lightly damp conditions if the cap is used outdoors. Record light position, distance, camera settings and sample version so changes can be compared. The goal is a repeatable reference, not a dramatic one-off image.
How a Custom Reflective Print Caps Project Should Sample
- Approve the cap block and fabric without reflective decoration.
- Apply the selected reflective route at actual size.
- Check bonding, edge lift, hand, stretch and seam clearance.
- Review front, side, underbrim and on-wear views.
- Run the proposed care or wash cycle.
- Repeat the angle and flex checks after conditioning.
- Lock the artwork file, process settings and acceptance photographs.
Protect Comfort and Flexibility
Reflective films can create a stiff patch on a lightweight crown. Dense coverage may reduce breathability or make the cap feel hot. Bend the decorated panel, wear the cap during movement and inspect the edge against the forehead. A smaller, well-placed mark can outperform a large graphic that changes the fit.
Check Bonding Before You Check Shine
Inspect corners, narrow joins, curved edges, pressure points and areas near seams. Look for bubbles, lifting, cracking, ink migration, ghosting and uneven gloss. Test after folding and after the planned care route. If a print fails at the edge, changing the artwork shape or adding a compatible support may be more effective than increasing heat.
| Failure | Investigation | Control |
|---|---|---|
| Edge lifts | Surface finish, pressure or cure | Re-test bonding on production fabric |
| Reflective effect varies | Angle, film lot or process | Retain a controlled reference image |
| Print cracks | Stretch, fold path or film choice | Test flex and revise coverage |
| Crown puckers | Heat or pressure on light fabric | Reduce coverage or add support |
| Hand feels harsh | Thick film or oversized graphic | Use a lighter route or smaller zone |
Write Honest Product and Care Copy
Describe the effect accurately: reflective accent, reflective print or low-light detail. State care instructions that match the approved process. If the product has a formal visibility standard, keep the relevant test records and certification scope with the order. Avoid promising visibility in every environment when the sample was only checked under one light source.
Set Bulk Inspection Around the Decoration
Inspect cap measurements, shape, print position, coverage, edge quality, shade, bonding, flex, labels and packing. Use the accepted angle photographs and a physical reference. QSHeadwear describes multi-stage QC and final AQL 2.5 checks; add the reflective-specific defects and the maximum acceptable variation to the order plan.
Keep the Process File for Reorders
Archive the artwork, panel template, film or ink reference, fabric code, process settings, viewing photographs, care test, approved sample, labels and packaging. Require approval if the fabric finish, print supplier or process changes. That record protects custom reflective print caps from drifting into a different visual or performance result.
Review Reflective Decoration With QSHeadwear
Explore QSHeadwear cap categories, review the OEM/ODM decoration process and check factory capabilities. Send the activity, fabric, artwork, visibility goal, quantity and delivery date through the contact page to discuss custom reflective print caps.
Reflective Cap Development: Buyer Questions Answered
1. What should reflective print caps be designed to do?
Define whether the reflective element is a style accent, low-light detail, sponsor mark or part of a certified safety product.
2. Can reflective print go on any cap fabric?
The fabric finish, stretch, texture and heat tolerance must be compatible with the selected print or transfer route.
3. Why does reflectivity change by angle?
Reflective material returns light directionally, while cap curvature and wearer movement change the viewing geometry.
4. Should the artwork cross a seam?
Only when the seam break and placement tolerance are deliberately designed and approved on a physical sample.
5. How should a reflective sample be tested?
Check front, three-quarter and side angles, then repeat after flexing, moisture exposure or the planned care route.
6. Can large reflective graphics affect comfort?
Yes. Coverage can add stiffness, weight and heat, so test hand, flexibility and on-wear comfort.
7. What causes reflective edges to lift?
Incompatible surface finish, insufficient pressure, process settings or a tight curved edge can contribute.
8. Can a product claim to be safety certified?
Only when the product has the required testing and certification for the stated market and use.
9. What should bulk inspection check?
Check position, coverage, edge quality, bonding, shade, flex, cap measurements, labels and packing against the approved reference.
10. What should be saved for reorders?
Keep the artwork, panel template, fabric and film references, process settings, test images, sample, labels and packing file.