

A technical problem in a custom cap program rarely begins with a perfect diagnosis. It usually arrives as a short message: the embroidery looks different, the crown sits too high, the brim curves unevenly, or bulk does not match the approved sample. The first task is not to defend a position. It is to turn an observation into evidence that the buyer and factory can evaluate together.
Effective headwear technical support uses an escalation path. Start with controlled remote information, move to a physical sample when touch, measurement or construction matters, and use an on-site session when the issue depends on equipment, operator method, material behavior or interactions between processes. Close the case only after the correction has been reproduced.
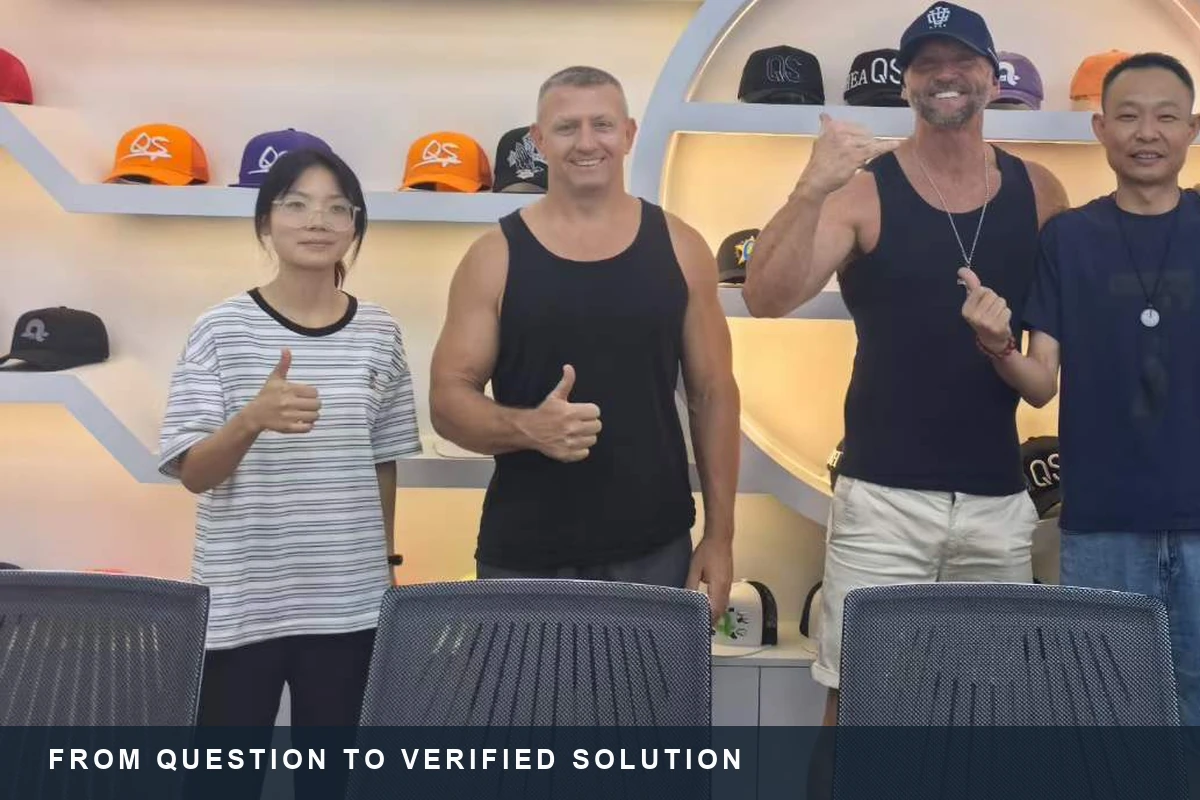
The customer-visit photographs in this article show face-to-face communication at QSHeadwear. They do not document a specific customer's confidential problem. The framework below explains how we structure technical collaboration without disclosing customer artwork, prices or project details.
Separate technical support from a factory audit
A factory audit asks whether a supplier's systems and capacity are suitable. Technical support asks why one defined result is not matching the requirement and what evidence will prove the fix. The questions, participants and outputs are different.
Use the right objective
If the buyer is qualifying a supplier, follow a structured factory visit audit route. If an active style has a specific problem, begin with the affected specification, sample, lot and process. Mixing the two objectives creates a broad tour but a weak diagnosis.
Define success before investigating
State what acceptable performance means: a measurement range, approved appearance, attachment strength, color relationship or repeatable construction. “Make it better” cannot guide root-cause analysis or final verification.
Build a technical support ladder
The support level should match the evidence needed. Escalating every question to an on-site visit wastes time; trying to solve every issue through chat can hide interactions that only appear on the production floor.
Level one: remote triage
Use remote triage for clear specification questions, isolated visual differences and issues that can be captured with controlled photographs, video or measurements. The goal is to classify the problem and decide whether the existing evidence is sufficient.
Level two: physical sample verification
Request an affected sample when hand feel, stretch, crown shape, brim memory, seam tension, material thickness or three-dimensional decoration cannot be judged reliably on screen. Compare it with the approved baseline under the same measurement and viewing conditions.
Level three: on-site diagnosis
Use an on-site session when the result depends on machine settings, operator handling, fixture condition, environmental variation, material feeding or the sequence between decoration, sewing, washing and finishing. Bring decision-makers who can approve a trial rather than only observe it.
Write a problem statement that can be tested
A useful problem statement identifies the product, revision, observed condition, expected condition, quantity affected, first occurrence and detection point. It describes evidence without assuming the cause.
Preserve product identity
Record style, color, size, artwork revision, material lot, production order and sample status. A photograph detached from these identifiers can lead the team to analyze the wrong version.
Separate observation from explanation
“The logo measures 3 mm wider than the approved sew-out” is an observation. “The digitizing file is wrong” is a hypothesis. Keep them separate until the file, thread, tension, backing, fabric and machine evidence have been compared.
Quantify the pattern
Note whether the issue affects one piece, one bundle, one machine, one shift, one material lot or the full order. The pattern often determines whether the investigation should begin with variation, specification, material or method.
Use a controlled remote evidence package
Uncontrolled phone photos can distort color, size and perspective. A small evidence protocol helps the technical team decide whether the case can be closed remotely or needs a sample.
Photograph consistently
Use neutral light, a plain background, a scale reference and repeatable camera distance. Include the entire cap, the affected area and an approved reference when available. Avoid filters and automatic enhancement.
Measure from defined points
Use the points and method in the specification. Record the tool, unit and sample condition. Crown height measured from a different seam or brim curve measured after different conditioning cannot support a clean comparison.
Capture production context
Ask for machine, operator, lot, time and work-ticket information when relevant. Remote support becomes more useful when the technical team can connect the symptom to the process route.
Escalate decoration issues with the right baseline
Decoration can change with fabric support, stitch density, thread, backing, hooping, placement and machine settings. A visual complaint needs both the approved artwork intent and the production execution record.
Compare the approved sew-out
The embroidery sew-out approval should identify the file, scale, colors, substrate and accepted appearance. If bulk differs, verify that production used the released file and comparable material before editing the artwork again.
Change one factor at a time
Trial adjustments should isolate variables where practical. Simultaneously changing density, backing, tension and scale may improve one sample but leaves the team unable to explain which control matters.
Use the physical sample to test interactions
A cap is a three-dimensional system. Fabric, reinforcement, panel geometry, seam allowance, brim, sweatband and closure interact. The sample stage should test those interactions rather than approve attractive photography.
Return to the released reference
The PP sample release docket connects approvals, open points and production conditions. During diagnosis, confirm whether the disputed feature was fixed, conditionally accepted or still open at release.
Use retained samples carefully
A retained sample is useful only when its identity and storage history are clear. The golden sample library helps preserve a physical baseline across repeat seasons, but age, handling and material relaxation should still be considered.
Run an on-site technical session around hypotheses
An on-site meeting should not become an unstructured tour. Arrive with a problem statement, evidence, prioritized hypotheses and a trial plan. Agree what can be changed, what must remain fixed and who can authorize the result.
Reproduce the current condition first
Before changing settings, attempt to reproduce the issue under documented conditions. If the factory cannot reproduce it, compare the buyer's sample, transit history, conditioning and measurement method.
Trace the process route
Follow the affected component through material issue, cutting, decoration, sewing, finishing and inspection. Ask where the characteristic can be created, changed or detected. This narrows the investigation without blaming the final operator automatically.
Record every controlled trial
For each trial, record input version, material lot, equipment, settings, operator, sample quantity and result. Photograph or retain representative pieces. The approved correction must be transferable to normal production, not dependent on one expert remembering an undocumented adjustment.
Find causes, not convenient explanations
The ASQ root-cause analysis overview defines RCA as a family of approaches used to uncover causes of problems and notes that RCA must sit within a broader improvement effort. A cause statement should explain the evidence and point to a control that can prevent recurrence.
Test specification causes
Look for ambiguous dimensions, conflicting files, missing tolerances or approval language that different teams interpret differently. A technically capable factory cannot reproduce a requirement that was never defined consistently.
Test material and method causes
Compare composition, finish, thickness, stretch, lot, storage, machine settings, fixtures and work sequence. Look for changes from the approved condition rather than assuming the newest observation is the root cause.
Test control failures
Ask why the issue was not prevented or detected. A correction that repairs affected caps but leaves the same release gap open is containment, not prevention.
Translate the solution into controlled production
Once a solution is selected, update the documents and controls that normal operators use. A technical meeting has no durable value if the fix remains in personal messages.
Update the correct revision
Use an engineering change log to connect the problem, approved action, affected files, implementation date and responsible approver. Withdraw obsolete instructions from the floor.
Train and verify the first output
Explain the changed control to the responsible operators and inspectors. Check the first pieces produced under the new condition before the full quantity proceeds.
Contain affected inventory
Identify material, work in progress and finished units produced under the old condition. Define rework, replacement, concession or scrap authority and reconcile quantities before shipment.
Close only after effectiveness is verified
An explanation is not closure. A 2026 NIST corrective-action bulletin for proficiency-testing failures explicitly combines investigation, root-cause analysis, corrective action and verification of effectiveness. The same discipline is useful operationally in headwear production.
Define the verification run
Specify sample quantity, production condition, acceptance criteria and reviewer. The verification should represent normal production rather than a hand-selected demonstration piece.
Use the right release evidence
The headwear AQL inspection plan can support shipment release after the process correction, while targeted checks should confirm the specific characteristic that failed.
Monitor the next order
Some problems recur only after another lot, operator or setup. Add the issue to the next-order review and supplier performance record. The supplier performance scorecard helps reveal whether the corrective action remains effective across real orders.
Questions for a technical support escalation
- What exact condition differs from the approved requirement?
- Which style, revision, lot and quantity are affected?
- Can controlled photos and measurements establish the issue?
- Does touch, shape or construction require a physical sample?
- Which hypotheses require machine or process observation on site?
- What inputs will remain fixed during each trial?
- Who can approve the correction and the resulting document change?
- How will affected inventory be contained and reconciled?
- What production evidence will prove the action remains effective?
Turn a factory visit into a verified solution
Face-to-face communication is most valuable when it shortens the path from unclear symptom to reproducible evidence. The customer brings product intent and field observations; the factory brings material, equipment and process knowledge. Neither side should replace facts with assumptions.
Start remotely, escalate when the evidence requires it, and use on-site time for controlled reproduction and trials. Then update the production baseline and verify the next normal run. That is how technical support becomes a repeatable sourcing capability rather than a one-time conversation.